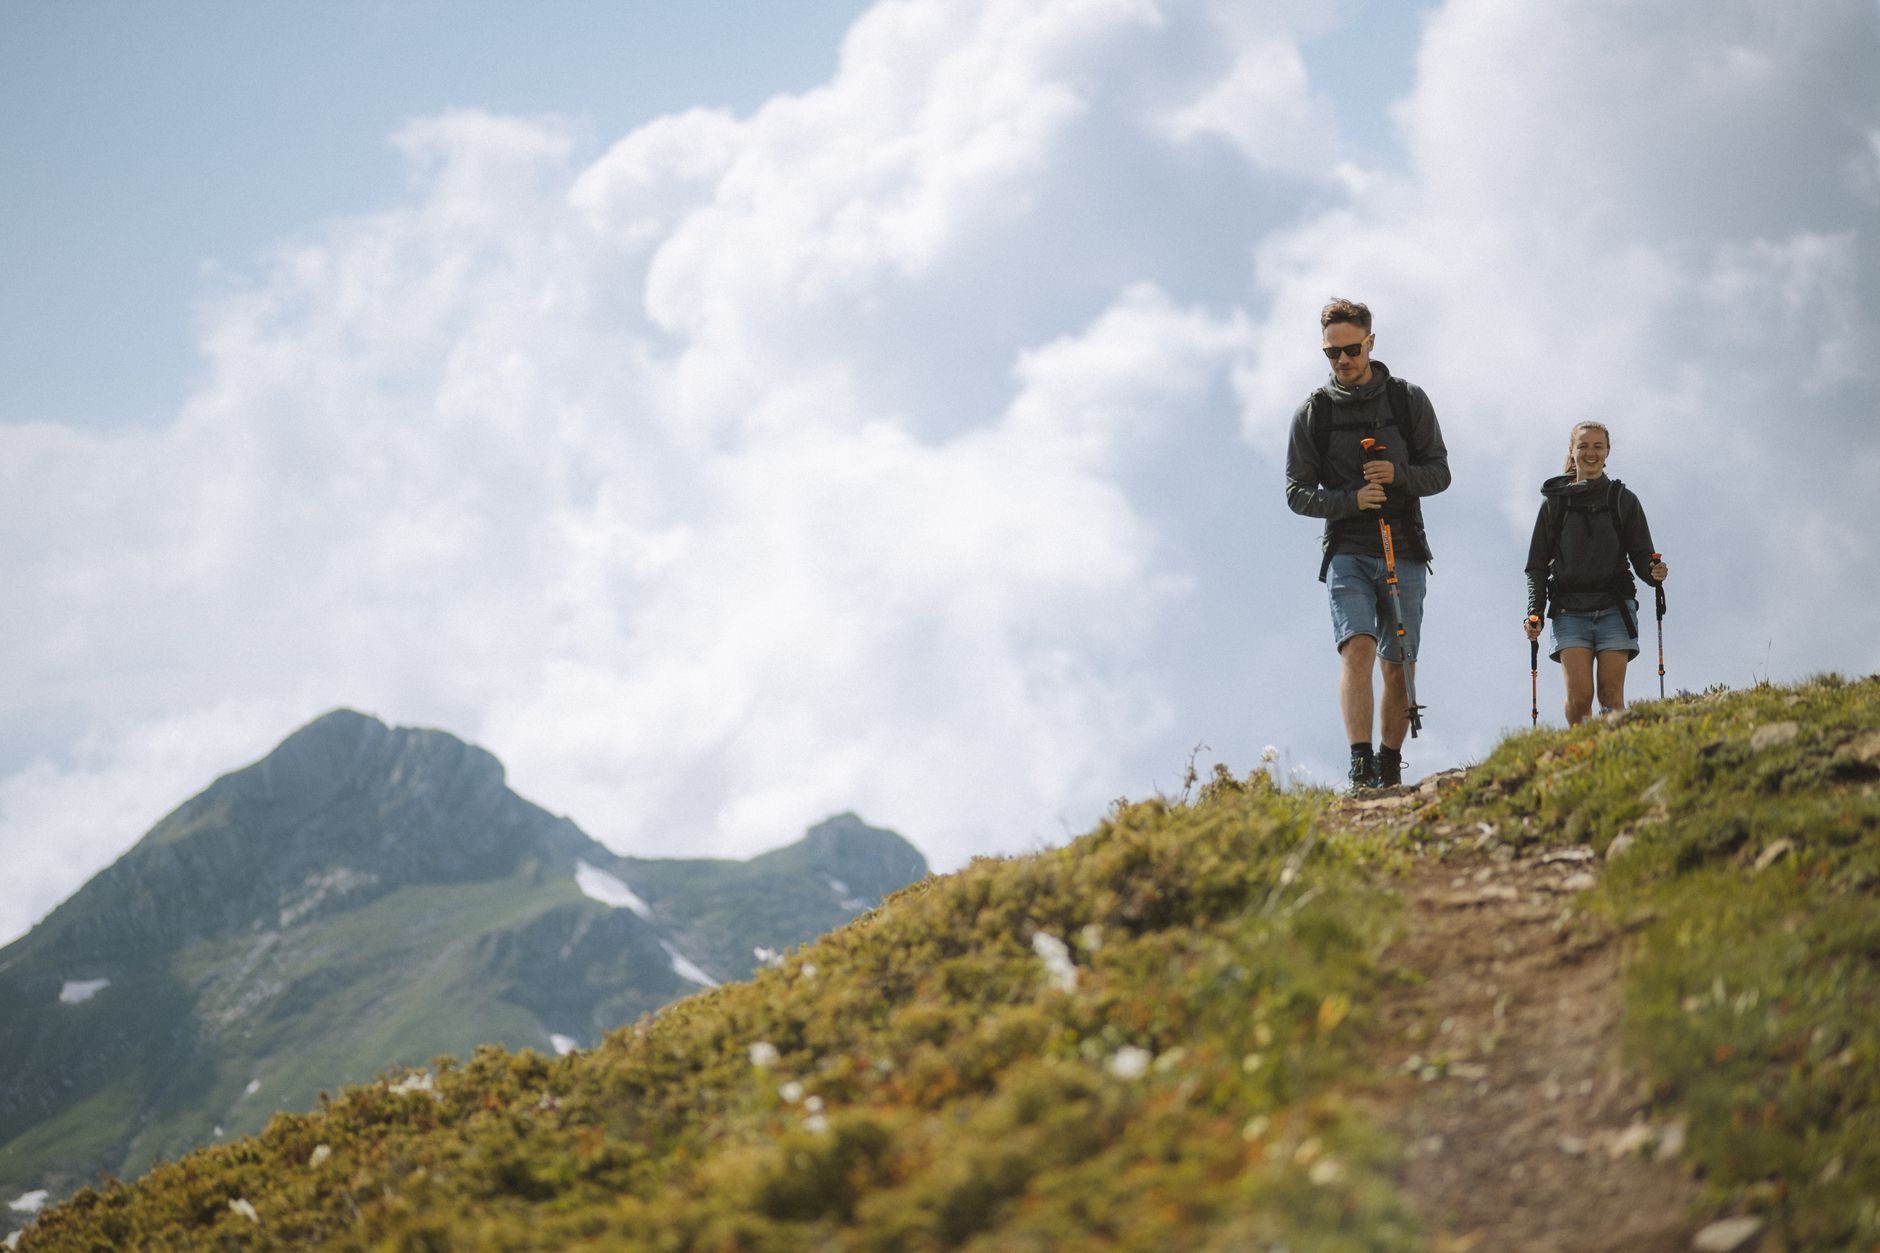
Trekking pole setup mistakes send more hikers to emergency rooms than most people realize. A viral incident that made the rounds in outdoor communities — a hiker impaled by their own pole tip after a trail stumble — was a brutal reminder that these lightweight tools carry real injury potential when used carelessly. If you carry poles on any terrain, this guide is for you.
The good news: every dangerous setup error covered here is completely preventable. Whether you’re a weekend warrior doing mellow day hikes or a thru-hiker grinding out 25-mile days, the fixes are simple, take about 60 seconds each, and can genuinely save you from a serious injury. Let’s break down the seven most common and most dangerous trekking pole mistakes — and exactly how to correct each one.
Given how much overlap there is between pole safety and broader trail emergency prep, it’s also worth pairing this knowledge with solid self-rescue gear essentials before you head into remote terrain where a misstep could mean a long wait for help.
Mistake 1: Running Bare Metal Tips on Hard Surfaces
The carbide or steel tip that comes stock on most trekking poles is designed to bite into soft trail dirt and rock. On paved approaches, wooden boardwalks, and hardpack, that exposed spike becomes a slip hazard and a noise nightmare — but more critically, if you fall forward onto a pole planted at the wrong angle, a bare metal tip won’t deflect. It will punch straight through whatever it contacts, including you.
The fix is rubber tip caps. They’re inexpensive, universally compatible with most pole diameters, and they dramatically reduce the risk of a tip-plant going wrong. Swap to rubber caps the moment your trail transitions to hard surface, and carry a few spares — they eject into stream crossings with surprising regularity. For mixed-terrain days, keep your caps clipped to a shoulder strap loop so the switch takes five seconds.
Proper tip selection also means matching your basket to your terrain. Small, hard-surface tips for summer trail. Large powder baskets for snow. Medium mud baskets for wet PNW conditions. Mismatched baskets cause unexpected tip sink or skip, both of which contribute to the exact fall scenarios that turn poles into impalement hazards.

Mistake 2: Wrong Wrist Strap Technique — the Most Misunderstood Trekking Pole Setup Mistake
Ask ten random hikers how to use trekking pole wrist straps and at least seven will demonstrate it incorrectly. The common method — looping your hand over the top of the strap and gripping the handle — is backwards. The correct technique is to feed your hand UP through the bottom of the strap loop, then settle your palm down onto the strap so it cradles your wrist from below. This means pole force transfers through your wrist, not just your grip, letting you push off without white-knuckling the handle.
Why does this matter for safety? When hikers use straps incorrectly and catch a pole on a root or rock, the wrong strap orientation can twist violently and cause wrist sprains — or worse, keep the pole attached to your hand when you need to release it instantly. On steep scrambles or during a fall, you want to be able to drop the pole immediately. Proper strap technique makes emergency release natural and fast.
The other strap mistake: keeping straps too tight. You should be able to pull your hand free with a single shake. Before any technical section, loosen your straps one click. It takes two seconds and it’s the difference between dropping a pole cleanly and having it whip back attached to your wrist.

Mistake 3: Improper Pole Storage During Scrambling and Technical Terrain
This is where the viral impalement scenario lives. A hiker stuffs collapsed poles vertically into their pack side pockets, tip-up, and takes a fall backward onto their own gear. Or they clip poles horizontally across the back of the pack and the tips extend beyond the frame, creating spikes at exactly the height of another hiker’s face on a switchback. Both scenarios are entirely avoidable.
On any scrambling terrain where you need both hands, poles go away completely — and they go away correctly. Tips always point down. If you’re using side-pocket storage, collapse the poles fully, tip-down, and cap the tips with rubber guards before stowing. If you’re using external straps or loops, orient poles diagonally across the pack back with tips pointing toward the ground, not skyward.
The better solution for frequent pole-to-scramble transitions is a pack with a dedicated horizontal ice axe loop and pole attachment system, which keeps poles flush against the pack back with no protruding ends. For shorter technical sections where you’ll want the poles again in 10 minutes, use a quick-draw pole holster clipped to your hipbelt. Keep those tips capped. Never hand poles to someone else tip-first.
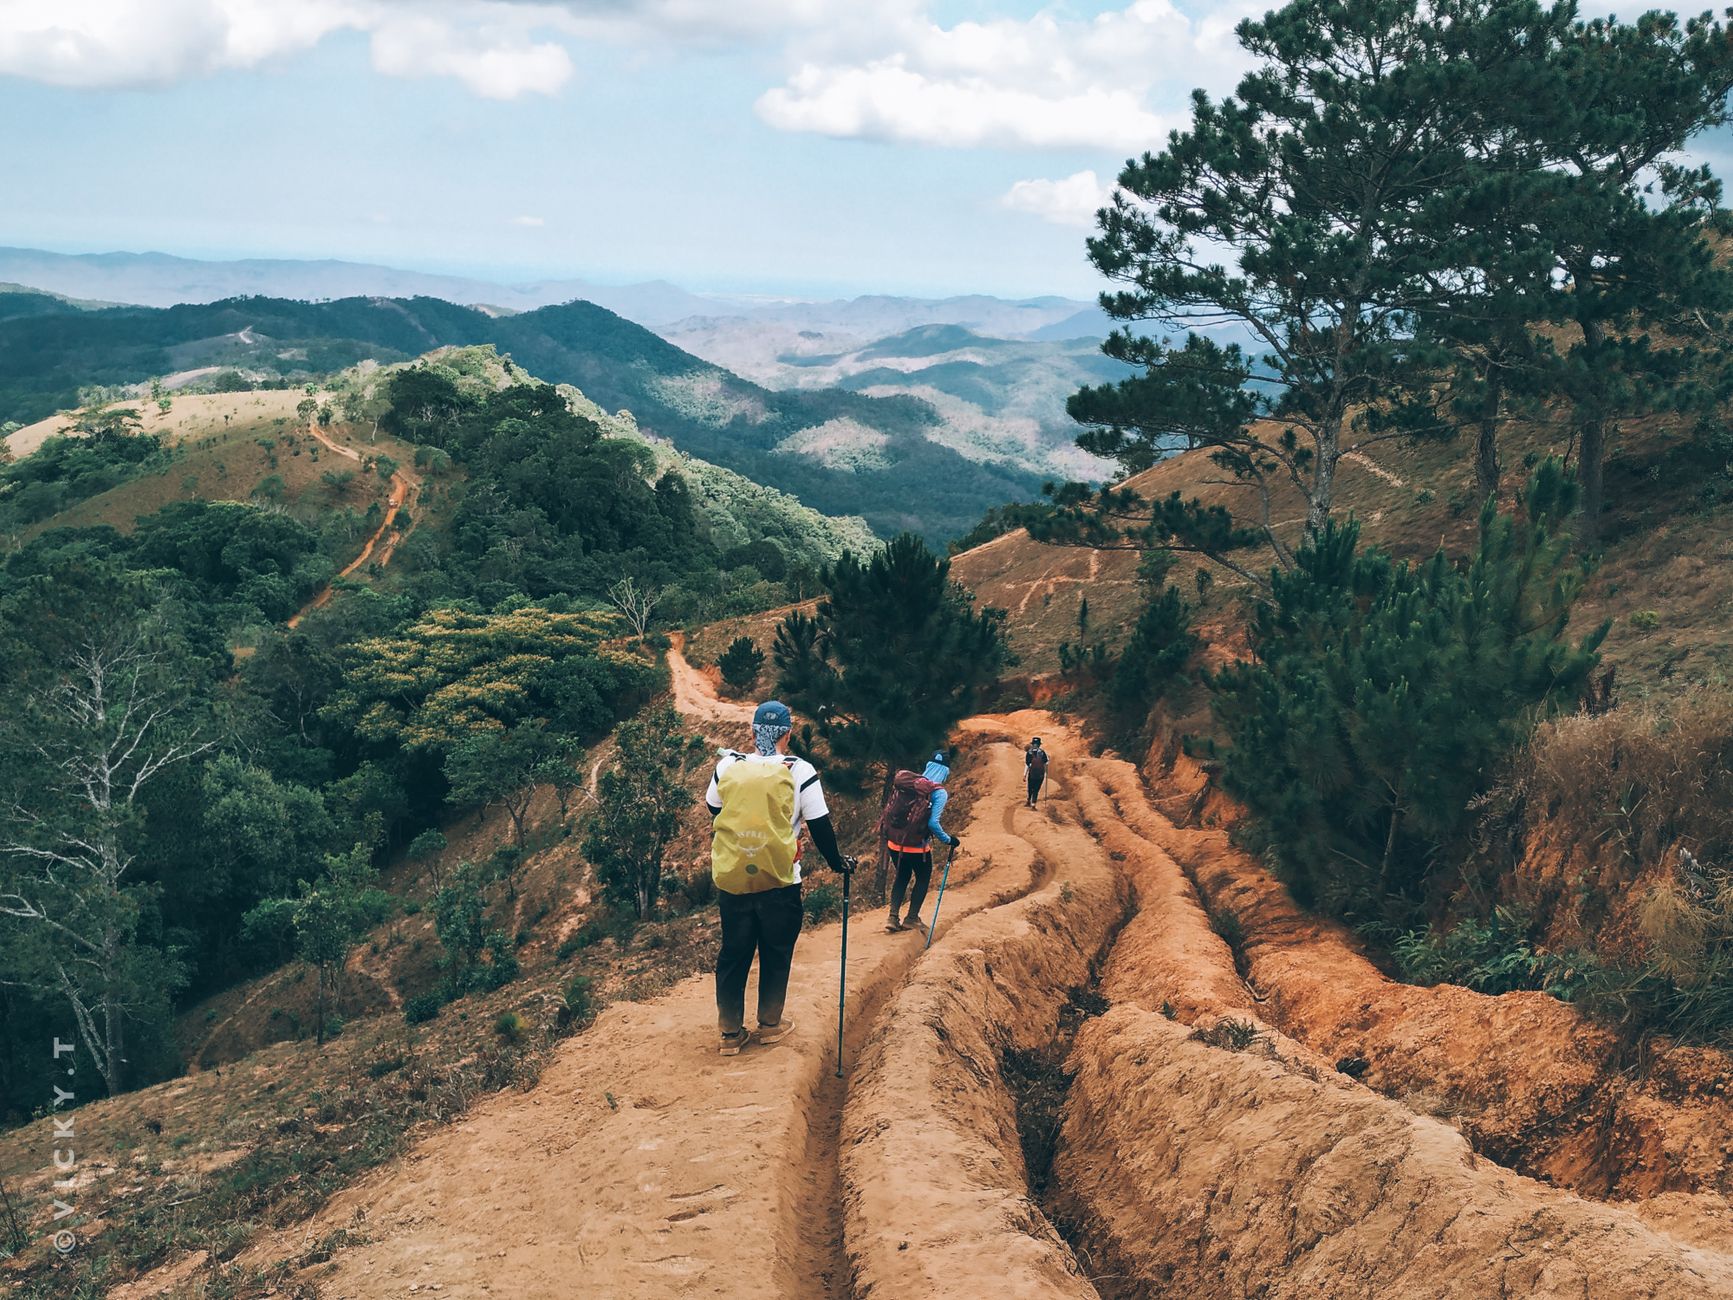
Mistake 4: Over-Extending and Under-Locking Adjustable Poles
Collapsible poles have maximum extension marks for a reason. Extending a pole past that mark puts stress on the locking mechanism at the exact point where torque is highest, and it dramatically increases the risk of sudden collapse under load — meaning a pole that was bearing your weight on a steep descent simply folds. Folding poles at the worst moment is how people pitch forward onto exposed tips or over trail edges.
Check your adjustment marks every single time you change pole length. For twist-lock poles, the rule is to tighten until you feel resistance plus one more quarter turn. For lever-lock systems, the clasp should close firmly without requiring full-hand force — if it’s snapping shut hard, the internal cam is wearing out and the pole needs replacement or a cam swap. Always test by holding the pole horizontally and pressing down on the middle — it should show zero deflection before you trust it on steep terrain.
Pole height itself matters for safety too. A common mistake is using the same height uphill and downhill. For ascents, shorten poles 5–10cm so you’re not reaching awkwardly high. For descents, lengthen 5–10cm to transfer load to your arms and knees more effectively. Incorrect height forces bad body mechanics that fatigue you faster and contribute to the stumbles that cause accidents.

Mistake 5: Ignoring Emergency Scenarios — Pole as Splint, Signal, and Shelter Pole
Most hikers think of their trekking poles as locomotion tools and nothing else. But in an emergency, a trekking pole is one of the most versatile pieces of gear in your pack — if you know how to use it. A folded, locked pole can serve as an improvised splint for a lower leg fracture. The handle end can be used to signal rescuers by reflecting sunlight. Most quality ultralight tarp shelters are explicitly designed to use trekking poles as their primary support structure.
The safety mistake here is not knowing your poles’ emergency capabilities before you need them. Can your poles fully collapse to splint length? Do you know your locking mechanism well enough to operate it one-handed in the dark with cold fingers? Have you ever practiced setting up your emergency tarp with your actual poles? These are drills worth doing at home, not learning for the first time at altitude with an injured partner.
Carry a small roll of duct tape or Leukotape wrapped around one pole shaft. It adds negligible weight and gives you the means to actually secure an improvised splint, repair a broken basket, or reinforce a pole tip that’s working loose. Simple prep, significant payoff.

Safer Pole Accessories: Our Top Picks
1. Leki Trekking Pole Tip Protector Caps (10-Pack) 🟢
Leki’s rubber tip caps are the gold standard for protecting bare carbide tips on hard surfaces and during pack storage. They fit most standard pole diameters and stay on securely without requiring tools to remove. Buying a 10-pack means you’ll always have spares after the inevitable stream-crossing ejection.
Pros:
- ✅ Universal fit on most pole diameters
- ✅ Dramatically reduces tip-plant injury risk on hard surfaces
Cons:
- ⚠️ Can eject in wet mud if not fully seated
2. Black Diamond Trekking Pole Basket Kit 🟢
Black Diamond’s modular basket system lets you swap between small trail baskets, large powder baskets, and mud baskets in seconds. Matching your basket to terrain prevents the unexpected tip sink and skip that leads to fall scenarios. The kit fits all current Black Diamond poles and many other brands with similar tip threading.
Pros:
- ✅ Quick-swap system works without tools
- ✅ Covers all three primary terrain types
Cons:
- ⚠️ May not fit non-Black Diamond poles without an adapter
3. Outdoor Research Helium Trekking Pole Holster 🟢
This hipbelt-mounted holster keeps poles instantly accessible during technical scrambling sections without requiring you to fully stow them in your pack. Poles stay upright, tips-down, capped, and out of the face of other hikers — which is exactly the storage scenario that prevents the most common impalement-style accidents on group hikes.
Pros:
- ✅ Keeps tips pointed safely downward during storage
- ✅ Single-hand retrieval for fast pole-to-scramble transitions
Cons:
- ⚠️ Adds minor weight and bulk to hipbelt on straightforward terrain
4. Gossamer Gear LT5 Trekking Poles 🟢
These ultralight carbon poles are built with an easy-to-operate external lever lock that you can adjust one-handed in gloves — critical for the emergency scenarios described above. The internals are serviceable in the field and the poles are compatible with standard tip and basket systems. At under 150g per pole, they’re also a favorite for gram-conscious tarp campers who rely on poles for shelter.
Pros:
- ✅ One-hand lever lock operation even in gloves
- ✅ Field-serviceable internals
- ✅ Doubles as tarp shelter support
Cons:
- ⚠️ Carbon shaft not appropriate for extremely heavy loads
5. Gear Aid Tenacious Tape (Mini Strips) 🟢
Wrapping a few inches of Gear Aid Tenacious Tape around one pole shaft costs you almost nothing in weight and gives you emergency repair capability for cracked baskets, loose tips, and improvised splint construction. It’s sticky enough to hold pole-to-limb contact for real immobilization and UV-resistant enough that it won’t degrade sitting on your pole for a full season.
Pros:
- ✅ Negligible weight — wraps right on the shaft
- ✅ Multi-use: gear repair and emergency splint tape
Cons:
- ⚠️ Full roll is overkill — pre-cut strips only for pole carry
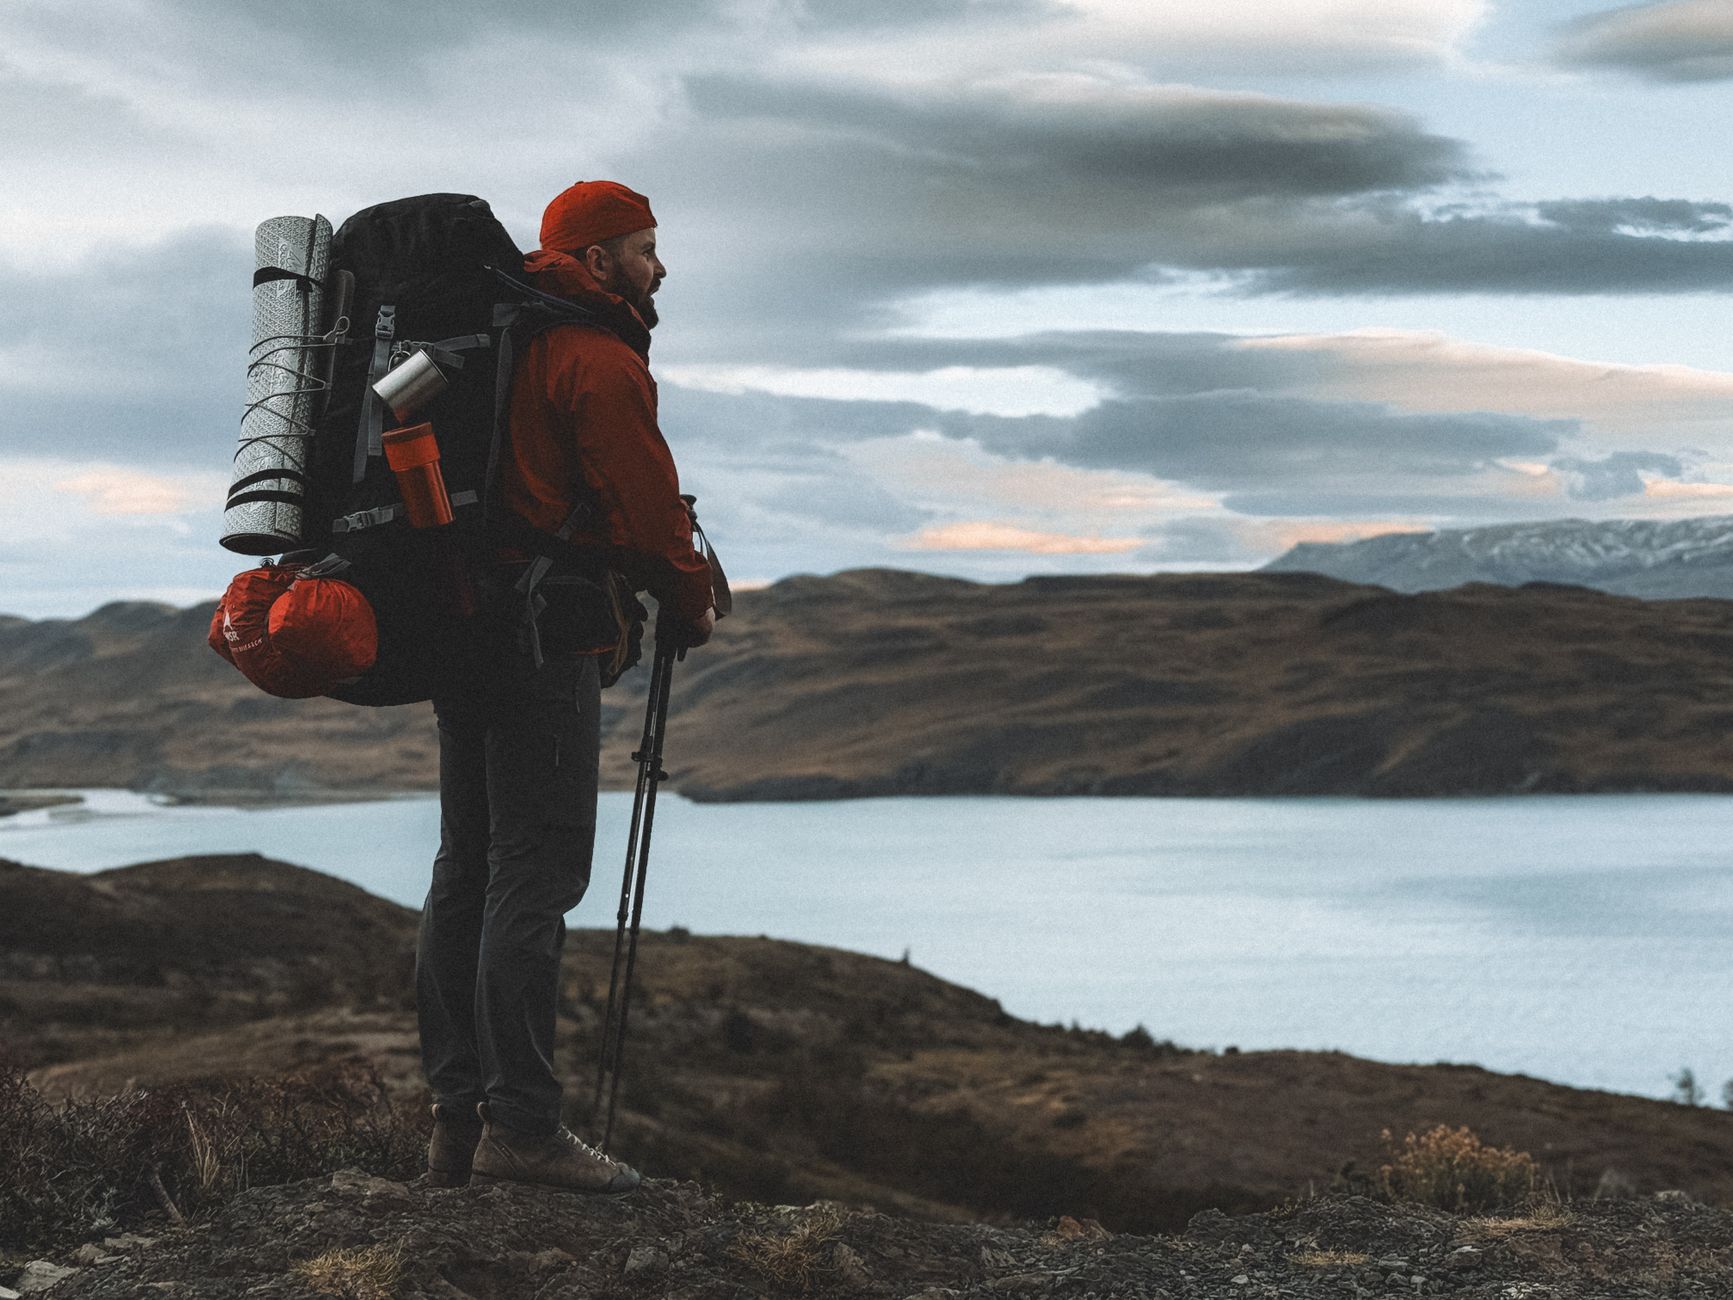
Final Thoughts: Fix the Basics, Hike Safer
Trekking poles are one of the most effective tools for reducing knee strain, improving balance, and increasing trail speed — but only when set up and used correctly. The seven mistakes covered here range from annoying to genuinely life-threatening, and every single one is preventable in under a minute of attention before you hit the trailhead. Tip selection, strap technique, storage discipline, lock verification, height adjustment, emergency familiarity, and tape on the shaft. That’s the complete checklist.
Run through it before your next trip. Not once and forget it — make it habitual the same way you check your pack weight or fill your water before leaving the car. Poles that are properly set up disappear from your awareness on trail. Poles that aren’t set up correctly have a way of making themselves very memorable, very suddenly.
Shop Backcountry Gear Labs on Etsy
Hoodies, tees, hats, and more for campers and hikers who live for the trail.
Get Weekly Gear Picks
Join the Backcountry Gear Labs newsletter for expert gear picks and backcountry advice, every week.
Pingback: 5 Trail Umbrellas Tested: We Hiked 100 Miles to Settle the Weight vs. Weather Protection Debate - Backcountry Gear Labs