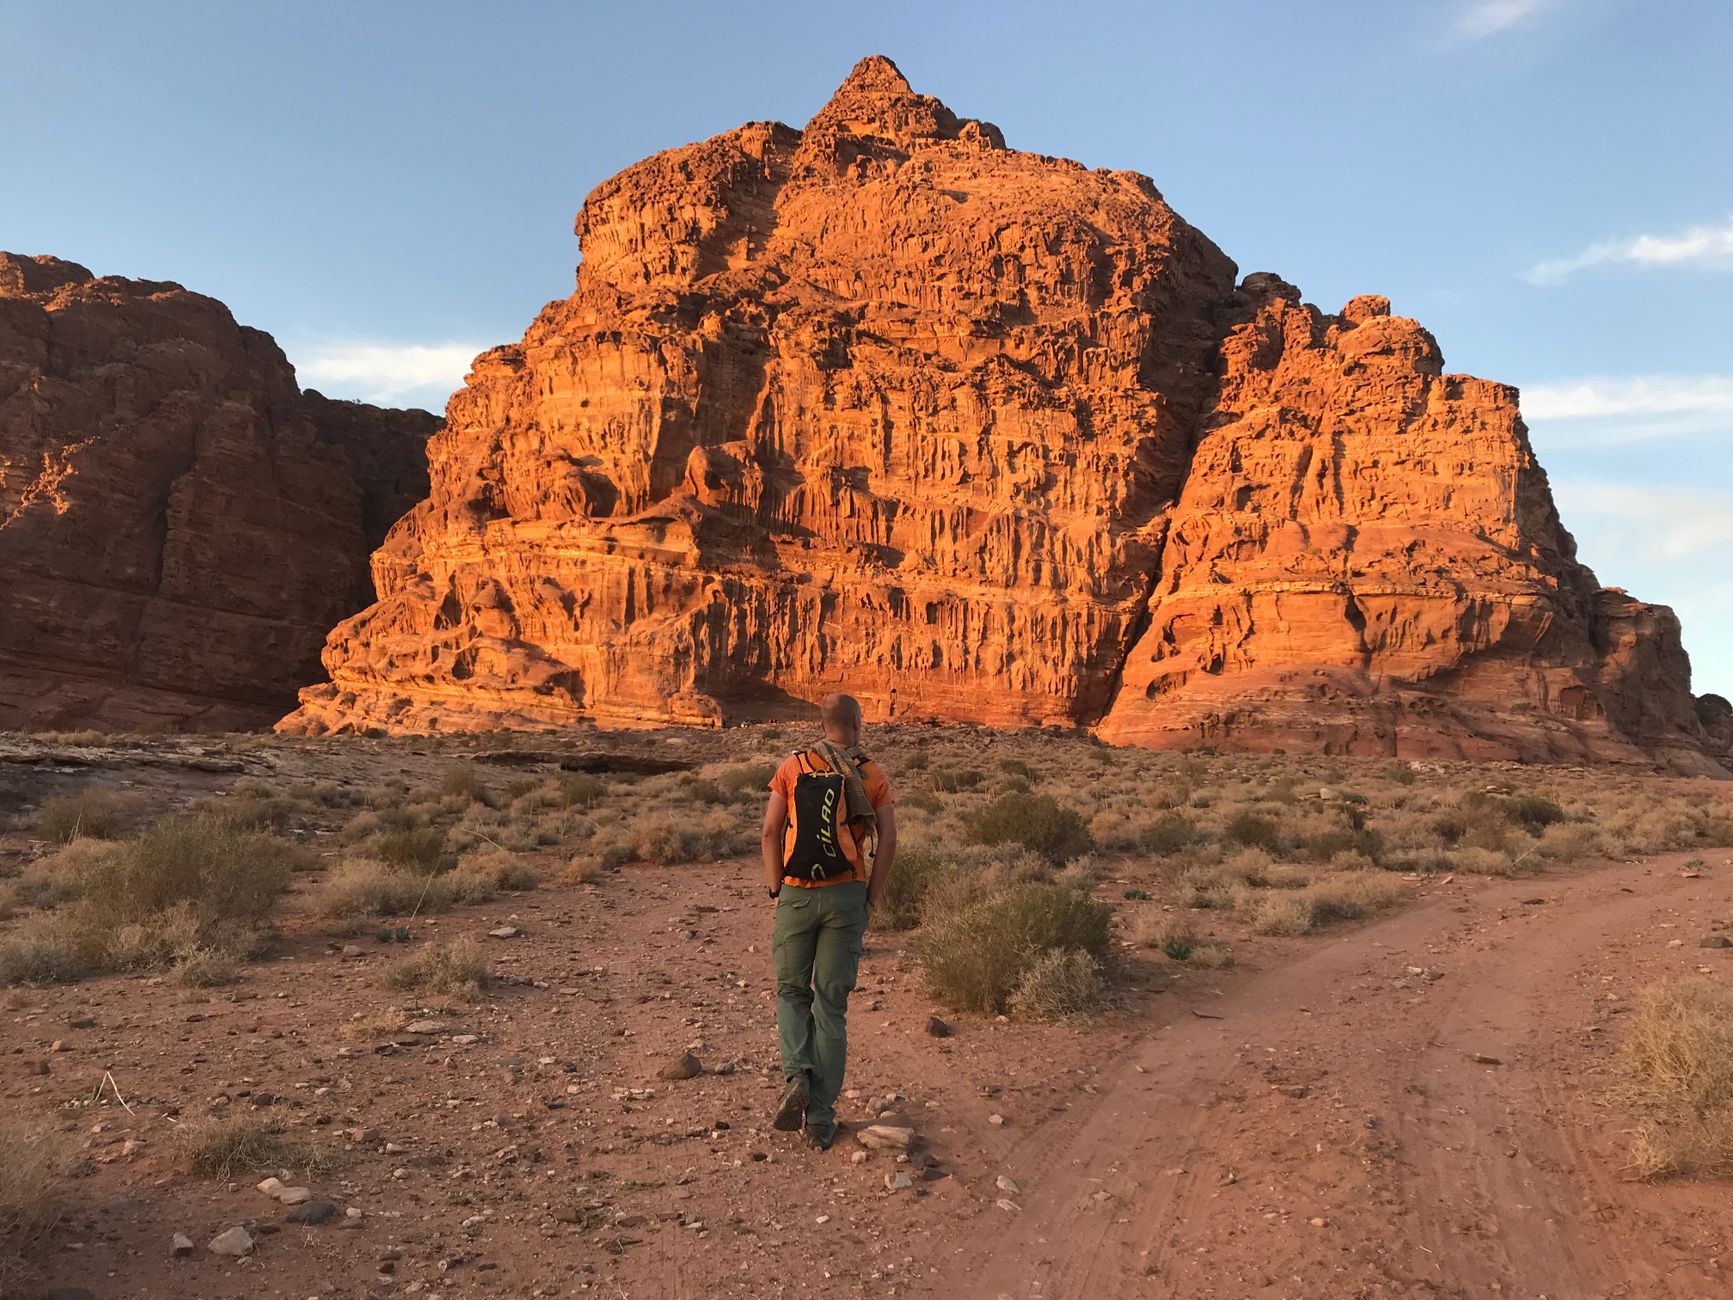
Winning a Havasu Falls permit feels like striking gold — and then the panic sets in. The Havasupai permit lottery is brutally competitive, and most first-timers spend more energy obsessing over the application than actually preparing for the 10-mile desert hike in. If you’ve just scored your spot, congratulations. Now let’s talk about what actually goes in your pack, because the Havasu Falls packing list is not your average overnight checklist.
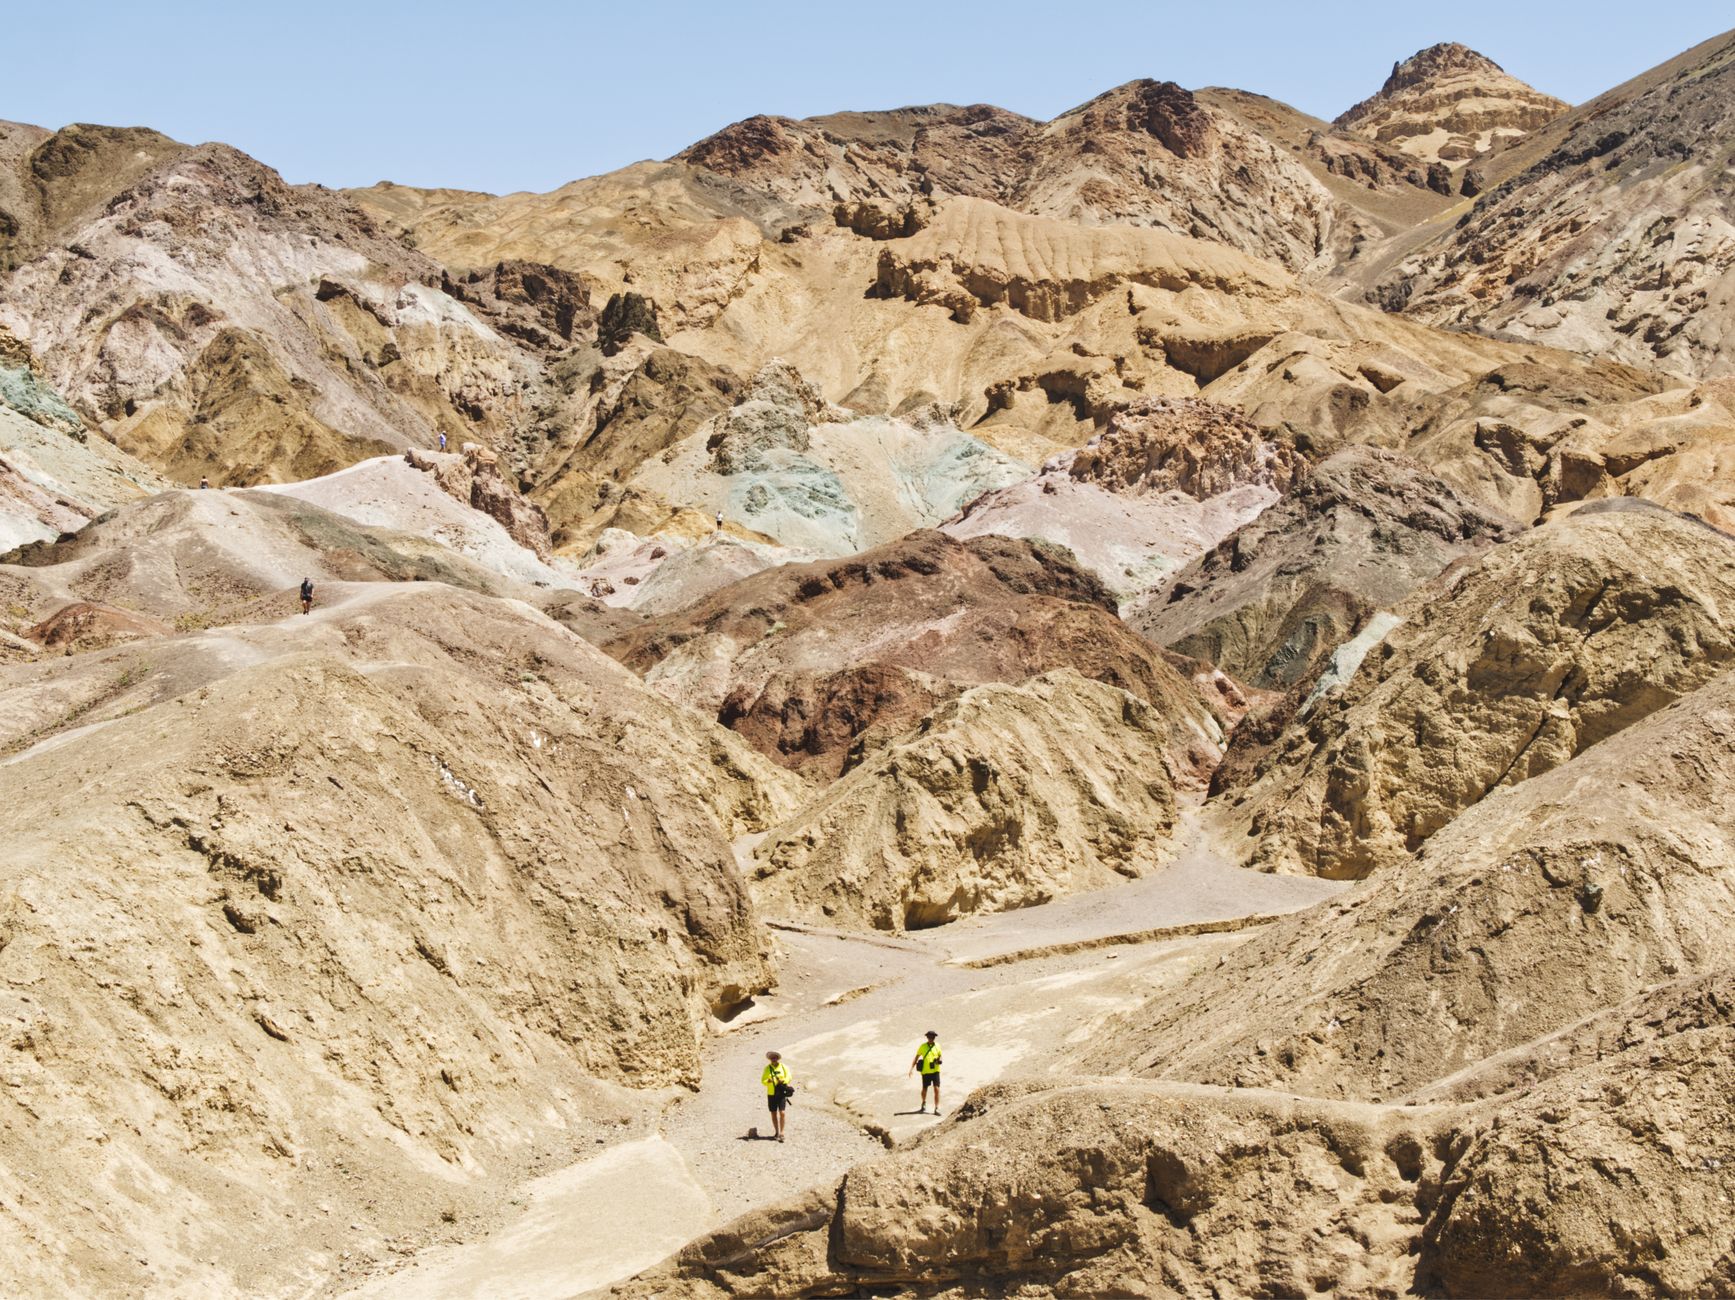
The trail into Havasupai is relentless: exposed, sandy, rocky, and hot. The descent into the canyon is straightforward but the creek crossings are real, the heat is unforgiving, and your feet will take a beating. Gear that works fine on a forested trail will fail you here. I’ve put together this guide specifically around the three categories where first-timers consistently get it wrong — footwear, hydration, and creek-crossing gear — with picks and advice that reflect the actual conditions on the ground.
The next Havasupai permit lottery window is coming up fast. Get your gear sorted now so you’re not scrambling to buy and return shoes the week before your trip.
Footwear: The Single Biggest Mistake on the Havasupai Trail
Let me be direct: trail runners win here, not hiking boots. The Havasupai trail is sandy and loose for the first several miles, then transitions to harder canyon floor. A stiff boot will fatigue your feet faster and dry slower after creek crossings. You want a low-cut trail runner with solid drainage ports and aggressive tread — something that handles wet rock and dry sand equally well.
The bigger issue most first-timers miss is that you will get your shoes wet. Multiple times. The creek crossings aren’t optional, and the campground area is laced with water. A shoe that holds water is a blister factory over 10 miles. Look for mesh uppers, drainage ports in the sole, and quick-dry liners. Gaiters are worth throwing in your pack as well — the sandy trail is fine-grained and gets into everything.
Sandals or Chacos work well as a camp shoe and secondary creek-crossing option, but don’t hike the full trail in them. A twisted ankle on the loose descent is a helicopter evacuation, and that’s not a metaphor — it happens every season. Pair your trail runners with wool or synthetic blend socks that wick fast, and bring at least two pairs so one is always drying.
1. Salomon Speedcross 6 Trail Runner 🥾
The Speedcross 6 is purpose-built for loose, technical terrain — exactly what the Havasupai descent throws at you. The aggressive lugs grip loose sand and wet rock, the EVA midsole absorbs the repetitive impact of a long sandy descent, and the fit is snug enough to prevent heel lift on uneven footing. It dries reasonably fast for a shoe with this level of structure.
Pros:
- ✅ Aggressive lug tread handles loose desert terrain
- ✅ Snug, secure fit prevents blisters on long descents
Cons:
- ❌ Not the fastest draining — avoid standing water when possible
2. Teva Hurricane XLT2 Sandal 🩴
For camp use and optional shallow crossings, the Hurricane XLT2 is the classic choice. The adjustable straps lock your foot in place on slippery creek rock, the rubber outsole grips surprisingly well when wet, and the EVA footbed provides enough cushion for camp wandering after a hard 10-mile day. Pack these as your secondary shoe — they weigh almost nothing.
Pros:
- ✅ Excellent wet-surface grip for creek crossings
- ✅ Lightweight camp shoe that doubles as backup footwear
Cons:
- ❌ Not appropriate for the full 10-mile trail with a loaded pack
Havasu Falls Packing List: Hydration Is Not Optional — It’s Survival
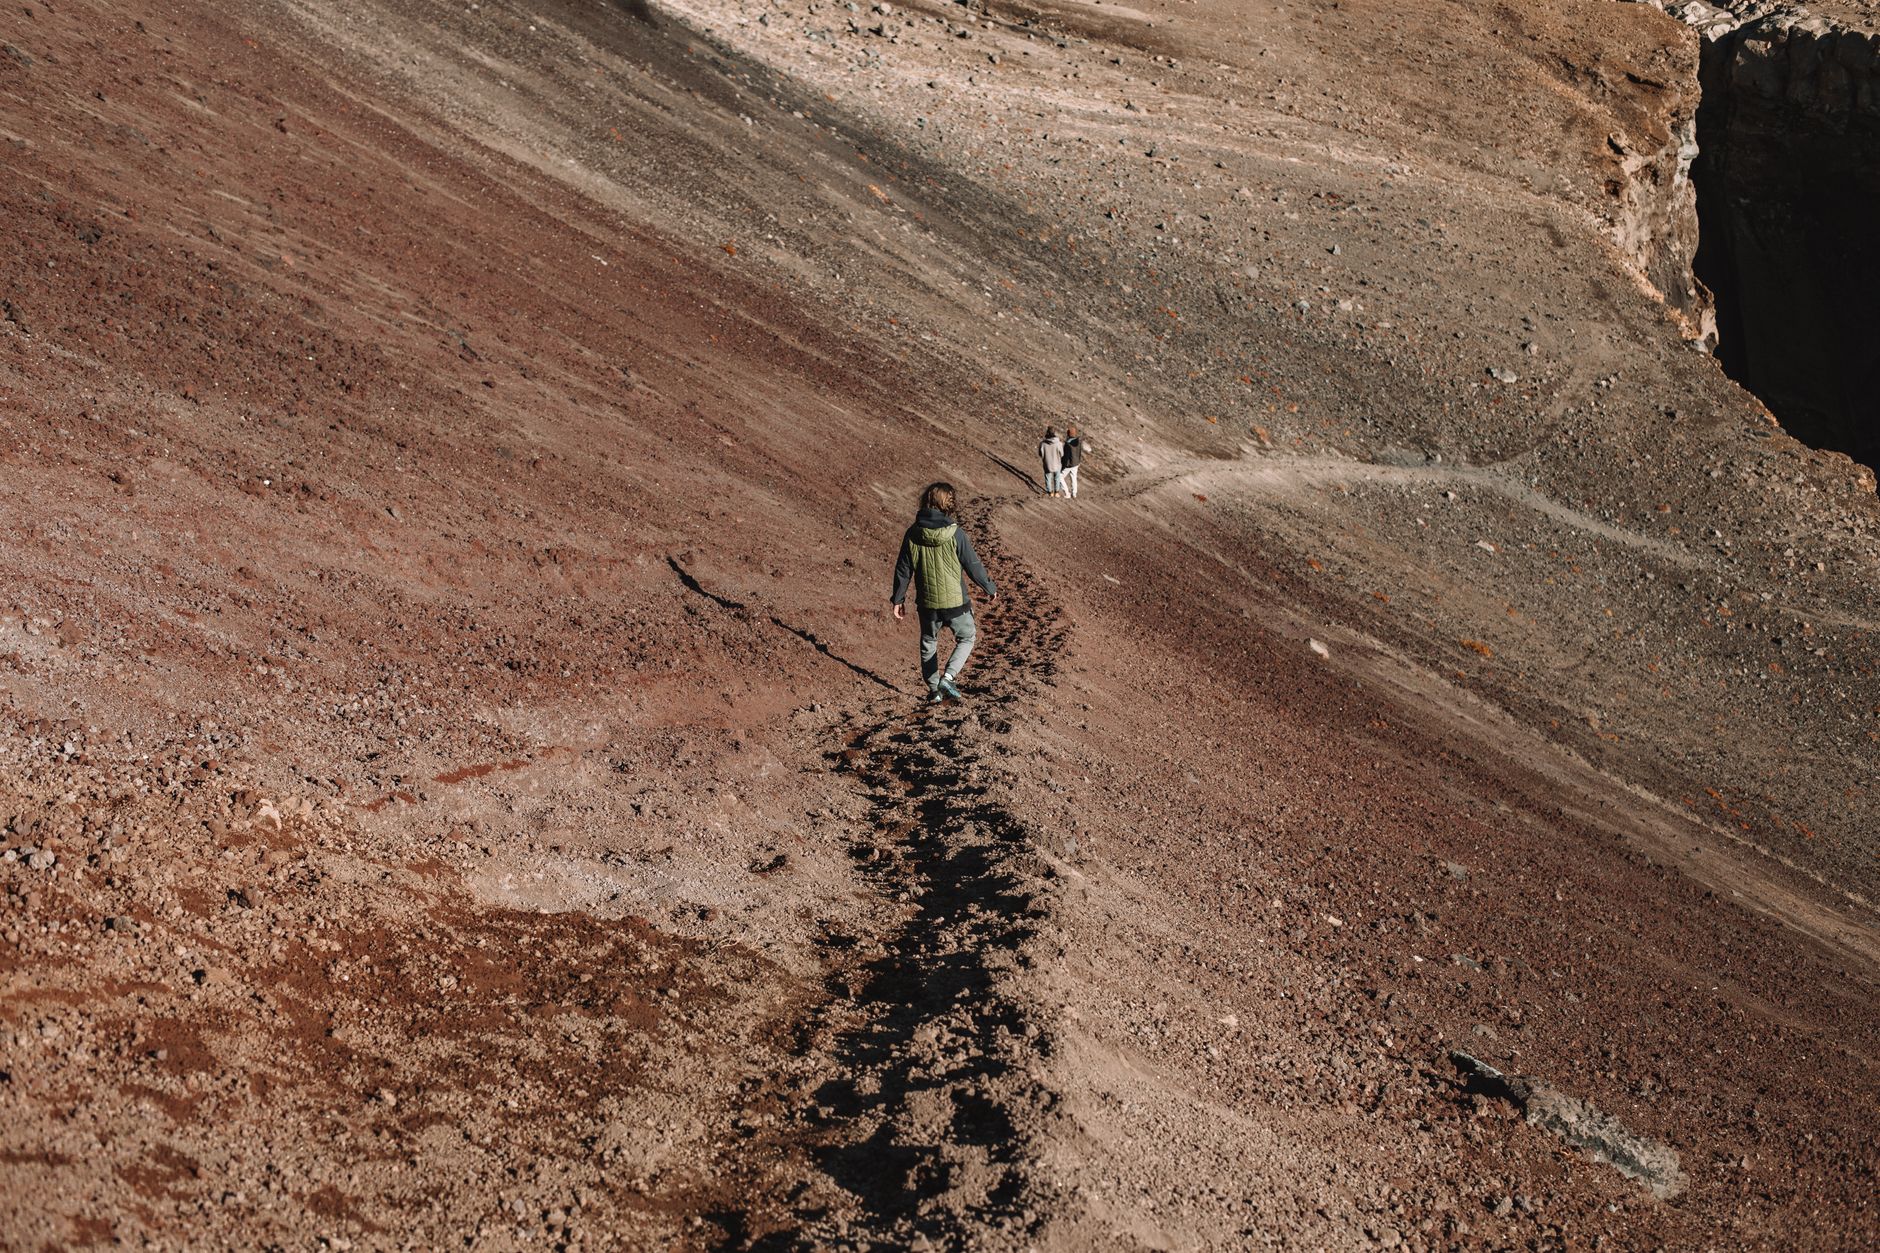
The trailhead sits at roughly 5,200 feet elevation and drops into a canyon that bakes in full sun. Summer temperatures at canyon floor regularly push past 100°F, and the 10-mile hike in has almost zero shade for the first few miles. Dehydration and heat exhaustion are the most common reasons hikers get into serious trouble here. Your hydration system needs to carry more capacity than you think you need.
The Havasupai Tribe does maintain a water cache partway down the trail, but do not depend on it exclusively. Carry a minimum of 3 liters from the trailhead. A hydration reservoir in your pack combined with a hard-sided bottle for electrolytes is the best setup — the reservoir lets you sip hands-free on the descent, while the bottle keeps your electrolyte mix separate and accessible. Electrolyte tablets or powder are non-negotiable: water alone won’t replace what you’re sweating out in that canyon heat. For more tested picks on staying cool in triple-digit conditions, check out our 7 best summer cooling gear picks tested in brutal 100°F heat.
You’ll also want a water filter or purification tablets for the campground. The creek water looks stunning, but you should treat any water you pull from it. A lightweight squeeze filter adds almost nothing to your pack weight and removes the risk entirely. Don’t skip this step just because the water looks clean.
3. Platypus Big Zip EVO Reservoir (3L) 💧
The Big Zip EVO has one of the widest openings in the reservoir category, which makes filling and cleaning it in a canyon environment genuinely easy. The slide-and-seal closure is reliable under pack pressure, the drinking tube has a bite valve that shuts completely when not in use, and the 3-liter capacity is exactly what you need for the Havasupai trail. It lays flat when full and fits most 40–55L packs cleanly.
Pros:
- ✅ Wide opening makes field filling and cleaning simple
- ✅ 3L capacity covers the full trailhead-to-camp distance
Cons:
- ❌ Slightly heavier than ultralight film-style reservoirs
4. Sawyer Squeeze Water Filter 🔬
The Sawyer Squeeze has earned its place in nearly every serious backpacker’s kit. It weighs 3 ounces, filters to 0.1 micron, and handles the volume you’ll need at camp without the fuss of a pump or chemical wait time. Attach it directly to the included squeeze pouch, drink, and move on. At Havasu, where you’re surrounded by beautiful but untreated creek water, having a filter this simple removes all friction around treating water.
Pros:
- ✅ Ultralight at 3 oz — negligible pack weight
- ✅ No pump, no chemicals, no wait time
Cons:
- ❌ Must be kept from freezing — not relevant for Havasupai summer trips
Creek Crossings: Gear That Keeps You Upright and Dry Where It Counts
The creek crossings on the way to camp and around Havasu Falls are part of the adventure, but they’re also where people roll ankles, soak electronics, and lose gear. The creek bottom is slippery travertine and loose rock — it feels stable until it isn’t. Trekking poles are your first line of defense. A set of adjustable poles gives you two extra contact points in the water and dramatically reduces the risk of a fall with a loaded pack. Our tested trekking poles guide covers the top options across different budgets if you need a recommendation before you head out.
A waterproof pack liner or dry bags are non-negotiable for your electronics, sleep system, and any clothing you want dry at camp. A single unexpected stumble in a crossing can soak an unprotected pack. Use a 20L or 30L dry bag as your main pack liner, then use smaller ziplock-style dry bags for your phone, wallet, and anything truly irreplaceable. Don’t rely on your pack’s rain cover alone — they leak under submersion and can come off in fast water.
Trekking pole tips: swap out rubber tips for carbide or steel tips if your poles came with rubber. Rubber skids on wet rock. Carbide bites in and holds. It’s a small detail that makes a real difference in the creek. Also, loosen your pole wrist straps when crossing — if you fall, you want to be able to release them instantly without fighting the strap.
5. Sea to Summit Ultra-Sil Nano Dry Sack (20L) 🎒
This is the dry sack to use as your internal pack liner. The Ultra-Sil Nano is made from 15D silicone-coated nylon — it is genuinely waterproof, not just water resistant, and it weighs 54 grams. Roll the top down three times, clip the buckle, and your sleep system, down jacket, and camp clothes stay bone dry no matter how many creek crossings you hit. It fits inside most 40–55L packs with room to spare for gear on top.
Pros:
- ✅ Genuinely waterproof — not just splash-resistant
- ✅ Incredibly light at 54 grams for a 20L dry sack
Cons:
- ❌ Delicate fabric tears if dragged across sharp rock — handle with care
The Rest of Your Havasu Falls Packing List: Don’t Forget These
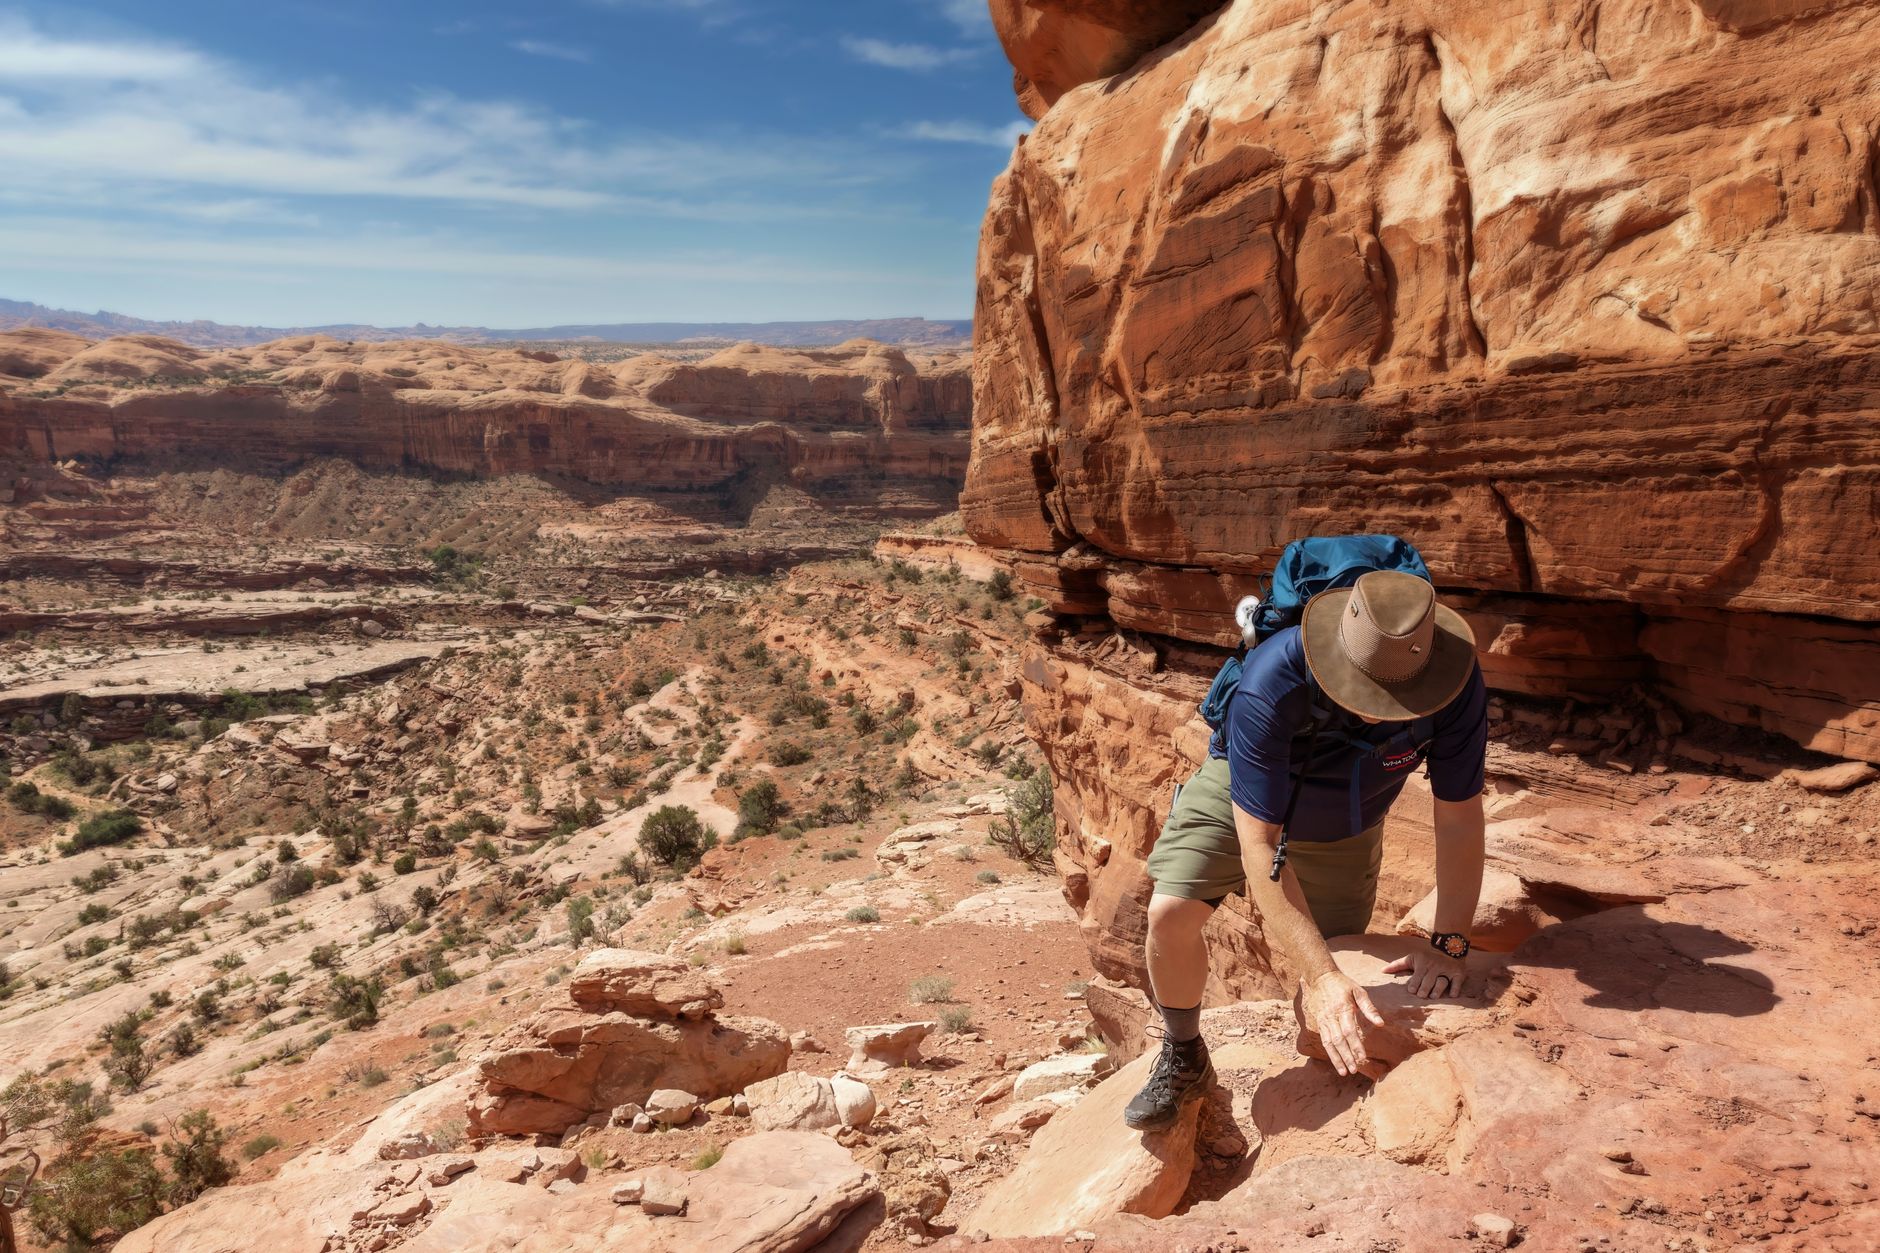
Beyond footwear, hydration, and crossing gear, a few other items consistently separate prepared hikers from the ones who struggle. Sun protection is massive: bring a high-SPF sunscreen, a wide-brim hat, and a lightweight long-sleeve sun shirt. The canyon walls don’t provide consistent shade and the UV index at desert elevations is brutal. A cooling towel soaked in creek water is also genuinely useful — not a gimmick — for regulating temperature on hot rest breaks.
Pack your sleep system light but don’t skip warmth entirely. Canyon nights drop significantly compared to daytime highs — a 20°F swing overnight is common in summer. A lightweight down quilt or a 40°F sleeping bag is the right call. If you’re dialing in your full overnight kit and want to pressure-test what you actually need versus what’s just weight, our essential overnight backpacking gear breakdown cuts through the noise.
Finally, respect the Havasupai Tribe’s rules: pack out all trash, use only designated camp areas, and don’t use soap or sunscreen directly in the creek or at the falls. This isn’t just ethics — it’s the terms of your permit. Violations can result in removal from the canyon, and word travels fast in a campground that size.
Final Checks Before You Head to the Trailhead
Go through your pack the night before departure. Weigh it — a 50+ pound pack on that sandy descent is going to wreck your knees and your morale. Aim for 35 pounds or under for most hikers. Cut anything you’re carrying “just in case” that isn’t genuinely useful for a 3–4 day canyon trip. Extra clothing, unnecessary camp gear, and too much food are the most common culprits.
Start early on your hiking day. The trailhead is accessed through the Hualapai Hilltop parking area, and the canyon floor section gets brutally hot by mid-morning in summer. A 5 AM start is not excessive — it’s smart. The first miles are fully exposed, and you want to be in the canyon and in shade before the sun is fully overhead.
The Havasu Falls packing list isn’t complicated, but every item on it earns its place. Get the footwear right, don’t compromise on hydration, protect your gear from the crossings, and you’ll be standing at the falls with dry socks and plenty of water left in your reservoir. That’s the whole game.
Shop Backcountry Gear Labs on Etsy
Hoodies, tees, hats, and more for campers and hikers who live for the trail.
Get Weekly Gear Picks
Join the Backcountry Gear Labs newsletter for expert gear picks and backcountry advice, every week.