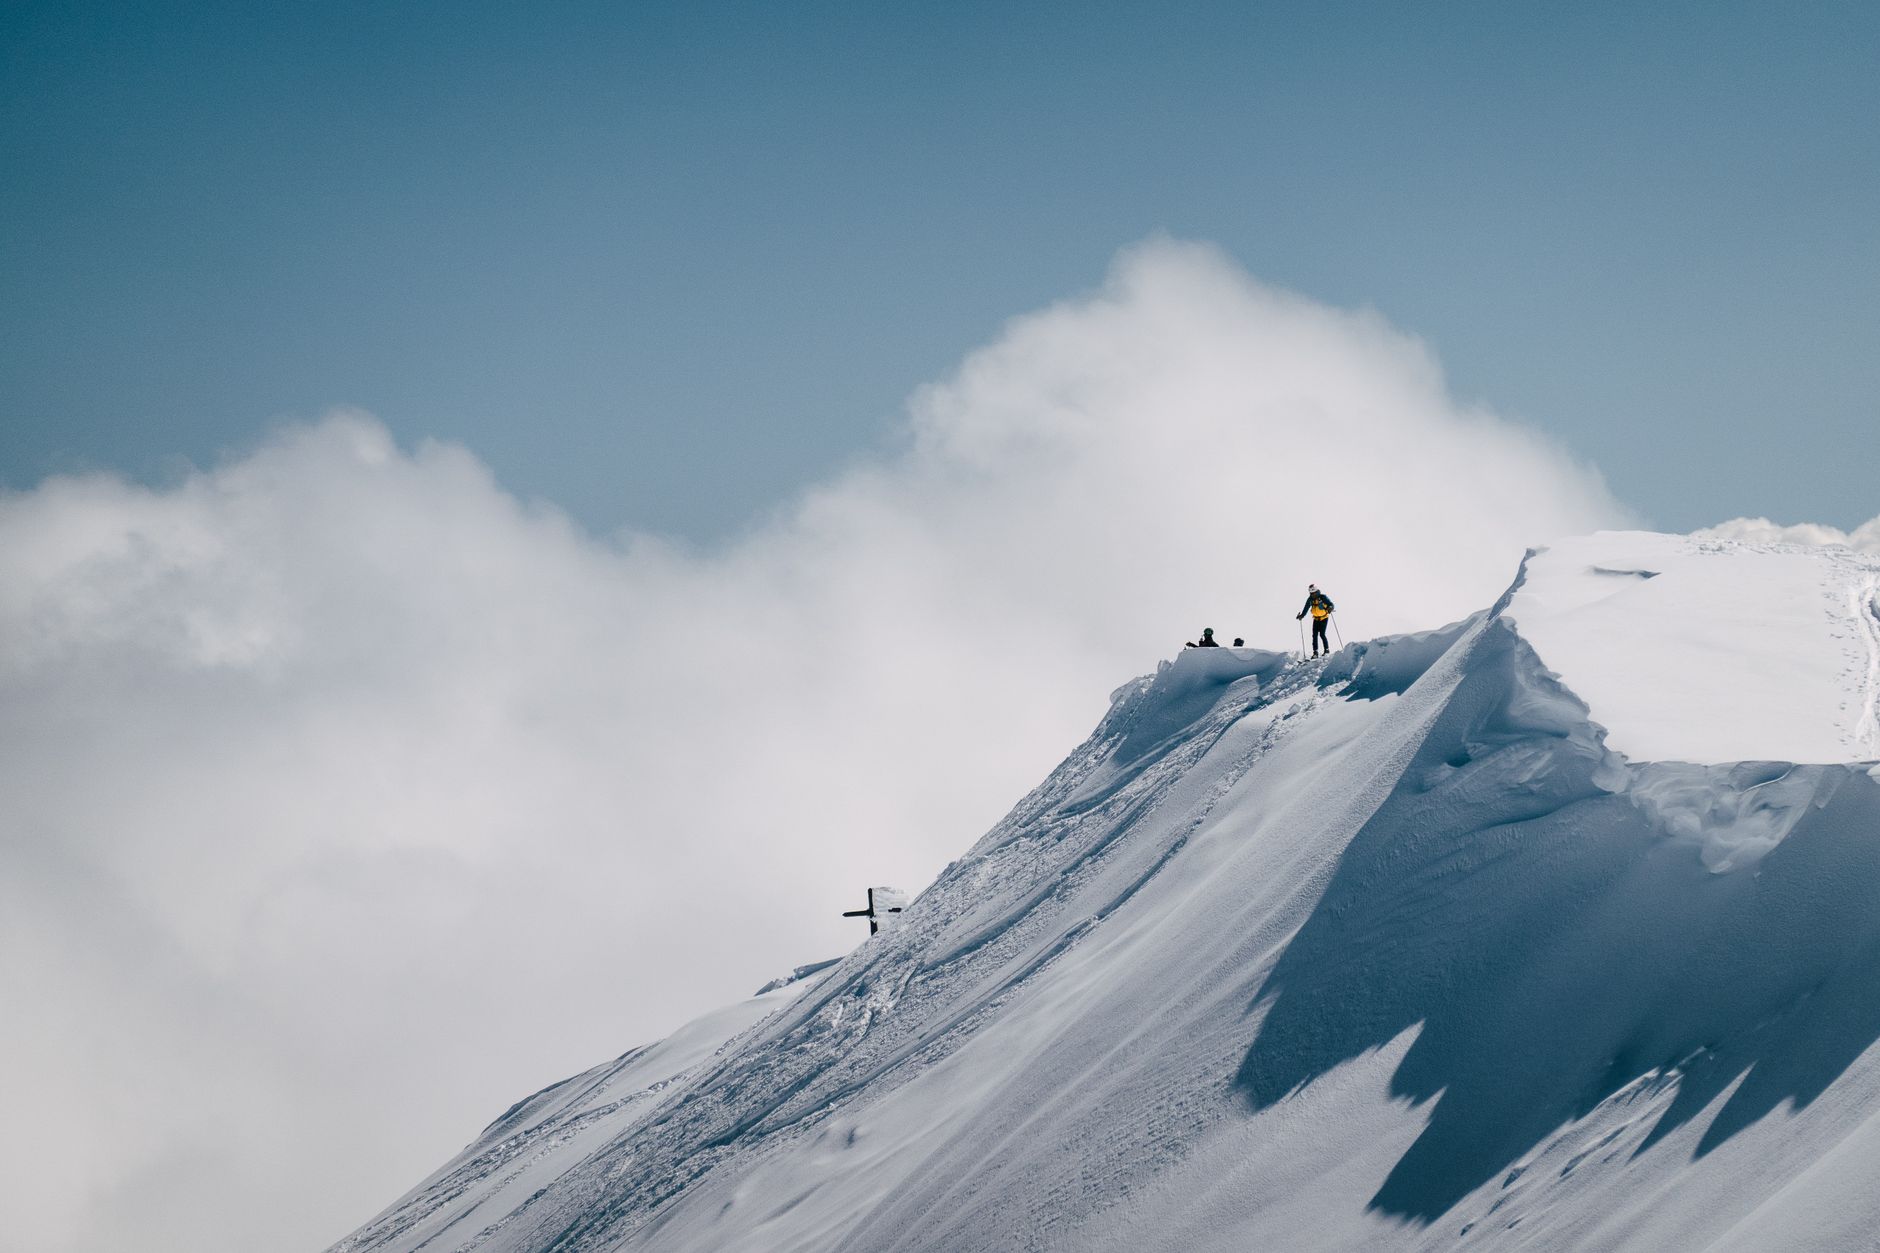
The Mt. Shasta AI rescue story went viral for good reason — a climber in distress used an AI chatbot to describe their location and symptoms, and the details relayed to rescuers helped narrow the search zone. Whether you find that inspiring or alarming depends on your perspective, but here’s what every mountaineer should take away: the climber needed rescuing in the first place because critical gear was missing. An airtight alpine day climb checklist isn’t optional on a serious peak like Shasta. It’s the difference between a great summit story and a search-and-rescue statistic.
Mt. Shasta tops out at 14,179 feet and kills people every year. It’s not a casual hike. Weather windows collapse without warning. Sun cups and steep snowfields punish the unprepared. And cellphone signal — AI-assisted or otherwise — is unreliable above treeline. The lesson here isn’t “bring your phone.” It’s “build a system so thorough that you never need a digital miracle.” This guide is that system.
Below is the complete, field-tested alpine day climb checklist our team at Backcountry Gear Labs has refined across Cascade and Sierra high-route objectives. We’ve broken it into five critical categories and pulled out specific gear recommendations at every price point. Use this before every high-elevation day objective — Shasta, Rainier, Hood, or any glaciated summit where consequences are real.
1. Navigation and Communication: Your Alpine Day Climb Checklist Starts Here
The Mt. Shasta rescue hinged on communication — and it almost failed. AI chatbots are not emergency dispatch tools. Satellite messengers are. A two-way satellite communicator gives you real GPS coordinates, real two-way messaging with rescue services, and SOS capability that functions at 14,000 feet with zero cell coverage. This is the single most non-negotiable item on any alpine day climb checklist, full stop.
Navigation beyond your phone matters just as much. Digital maps drain batteries in cold temps — a lithium-powered GPS unit maintains accuracy down to -4°F. Carry a paper topo of your route and a baseplate compass as backups. On Shasta, whiteout conditions can materialize in under 30 minutes. If your phone dies, you need to navigate out by compass bearing without a second thought. Practice this at home before you need it on a ridge.
We’ve done deep testing on satellite messenger reliability — check out our Satellite Messenger Showdown where we tested the Garmin inReach Mini 2, Zoleo, and SPOT Gen4 response times across three national forests to see exactly how these devices perform when it counts. The results were eye-opening and directly relevant to alpine objectives like Shasta.
1. Garmin inReach Mini 2 ⭐⭐⭐⭐⭐
Price range: $349-399 | Premium pick
The inReach Mini 2 is the gold standard for alpine emergency communication. Two-way satellite messaging via the Iridium network, interactive SOS with GEOS rescue coordination, and GPS tracking that works globally. At 3.5 oz it’s light enough to forget it’s there — until you desperately need it.
Built to last: Hardened polycarbonate housing rated to MIL-STD-810 standards, IPX7 waterproof, and designed to function in sub-zero temps with lithium battery chemistry that maintains output in cold alpine conditions.
Pros:
- ✓ True two-way SOS messaging with rescue coordination center
- ✓ Pairs with Garmin topo maps on your phone
Cons:
- ✗ Requires active subscription plan ($14.99-$64.99/month)
2. Emergency Survival Gear Every Alpine Climber Must Carry
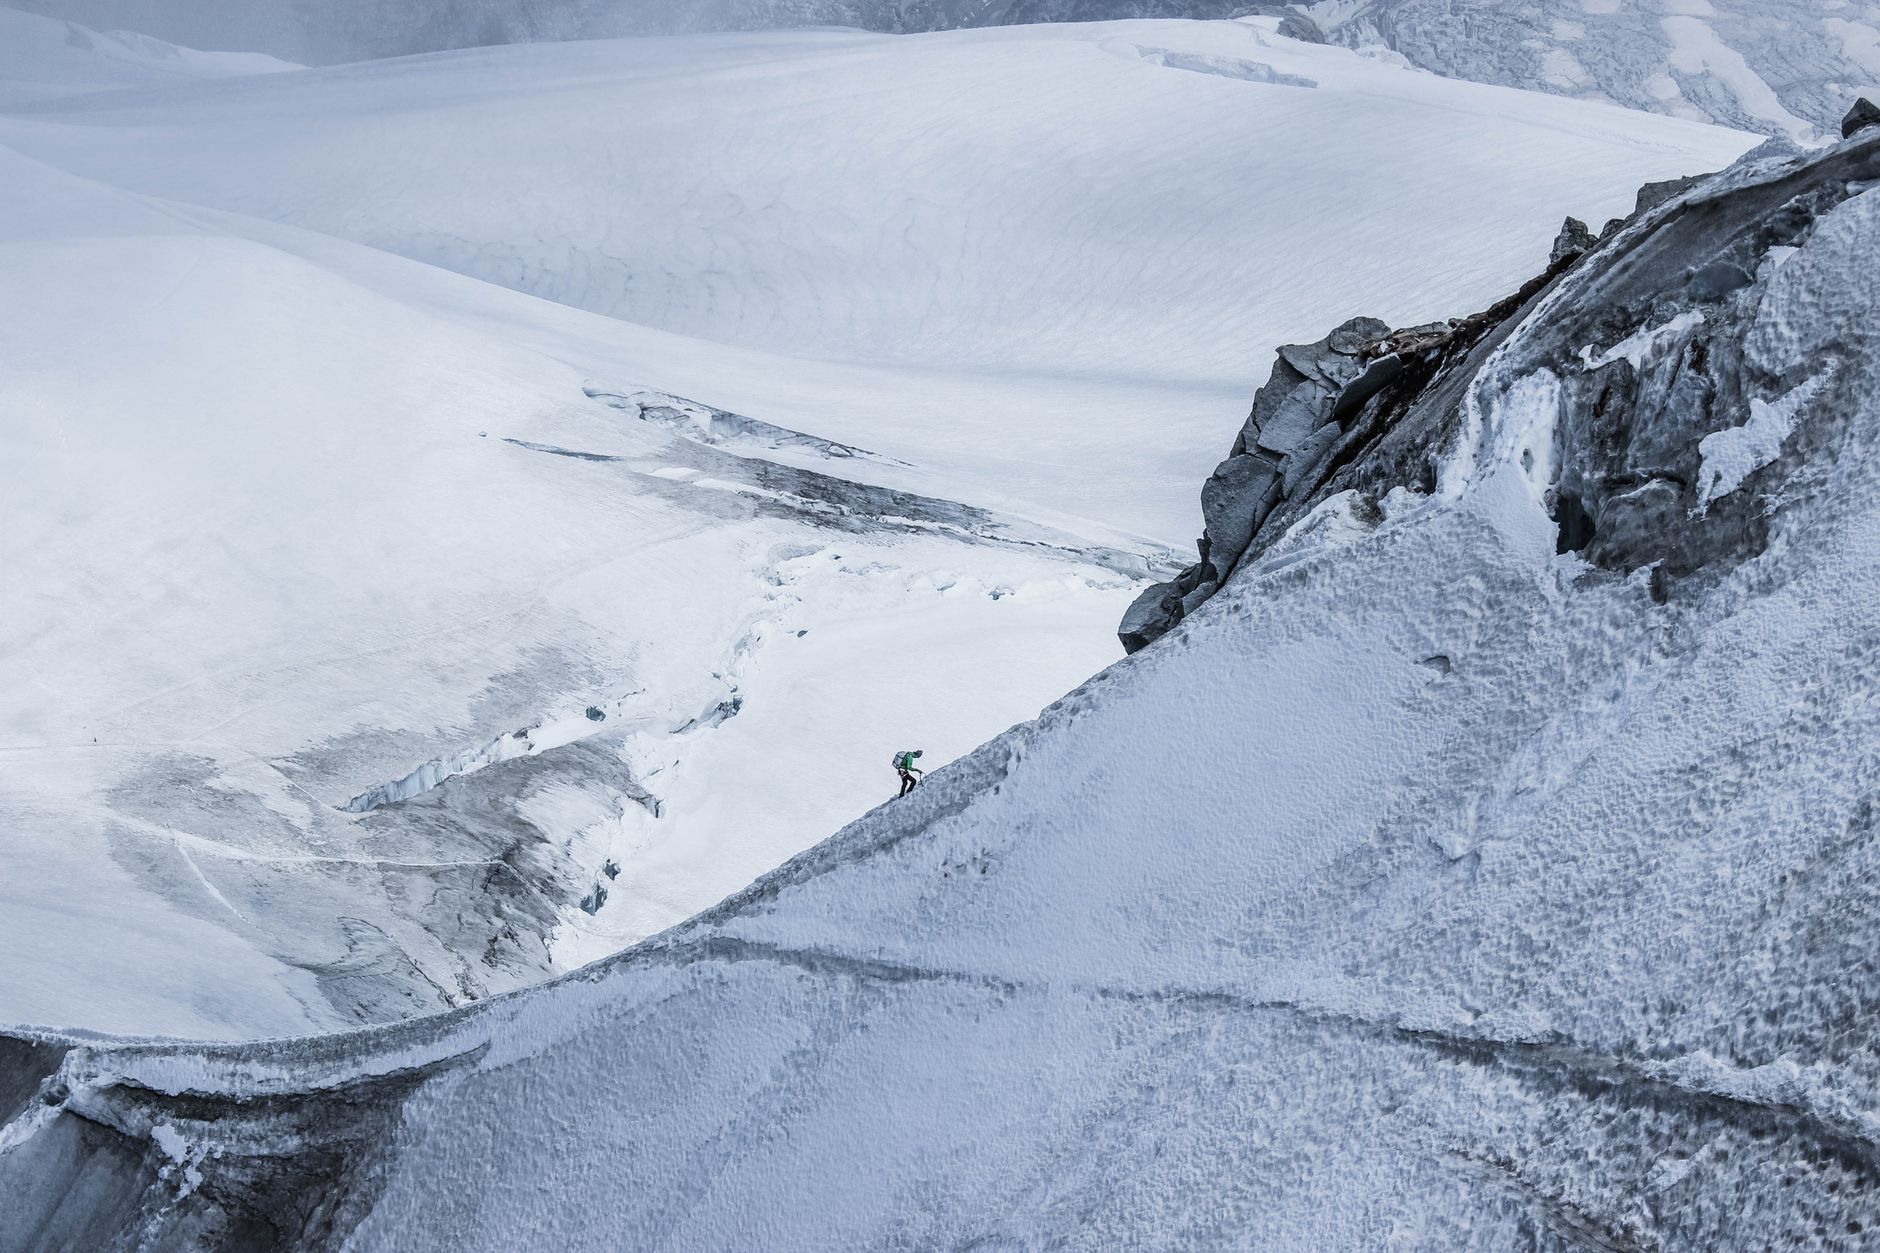
The alpine environment doesn’t give warnings. A rolled ankle at 12,000 feet means you may spend an unplanned night on the mountain. Your emergency kit needs to cover that scenario without relying on anyone else. Bivy sack, fire starter, emergency whistle, and a compact first aid kit are mandatory. Not optional add-ons — mandatory.
An emergency bivy sack — not a flimsy space blanket — is the piece of kit most day climbers skip and most SAR teams wish climbers had carried. A quality bivy retains 90% of body heat in a total whiteout. Pair it with a BIC lighter and a small block of fire-starting tinder cubes in a waterproof bag. At altitude, hypothermia progresses faster than most people expect, especially after exertion stops and sweat-soaked base layers begin cooling your core.
Our friends at the ER-doc backcountry first aid team put together an excellent breakdown of what medical professionals actually carry — the Backcountry First Aid Kit guide from three ER doctors is required reading before any high-commitment alpine day. The wound care and altitude sickness medication recommendations alone are worth the read.
2. SOL Escape Bivvy (Adventure Medical Kits) ⭐⭐⭐⭐⭐
Price range: $30-40 | Budget pick
The SOL Escape Bivvy is a genuine emergency shelter in a 3.8 oz package. Unlike foil blankets, this breathable bivy reflects 70% of radiated body heat while venting moisture — meaning you won’t wake up soaked in condensation if you have to spend the night. It’s reusable, packable to fist size, and genuinely has saved lives.
Built to last: Constructed from multi-layer aluminized polyethylene laminate with a breathable TechTex outer fabric — tear-resistant enough to survive a rough night on volcanic scree without failing.
Pros:
- ✓ Breathable — doesn’t soak you in condensation
- ✓ Reusable across multiple seasons
Cons:
- ✗ Not roomy enough for full sit-up comfort inside

3. The Alpine Layering System That Actually Works Above 12,000 Feet
No piece of gear fails alpine climbers more consistently than clothing. The standard mistake is wearing a heavy puffer from the trailhead and sweating through it by 9,000 feet, then arriving at the summit wind-blasted and wet with nothing dry to put on. A proper alpine layering system for a day climb is three distinct layers that can be mixed, matched, and adjusted every 500 feet of gain as conditions demand.
Start with a merino wool or synthetic base layer that moves moisture away from your skin during the slog. Mid-layer is an active insulation piece — think Polartec Alpha or PrimaLoft Gold — that insulates even when damp and breathes during movement. Your shell must be a hardshell, not a softshell. Softshells are not wind and waterproof in the way a 3-layer Gore-Tex shell is, and on Shasta’s upper mountain during afternoon wind events, that difference is significant. Carry lightweight insulated gloves plus a waterproof over-mitt. Your hands are navigation tools — protect them.
3. Patagonia Nano-Air Hoody (Patagonia) ⭐⭐⭐⭐⭐
Price range: $220-260 | Premium pick
The Nano-Air Hoody has become the benchmark active insulation piece for technical alpine days. PrimaLoft Gold Active insulation performs at 60% efficiency when wet, breathes aggressively during aerobic output, and packs small enough to stuff into its own chest pocket. The hood is helmet-compatible — relevant when you’re carrying a climbing helmet above the red banks on Shasta.
Built to last: 10-denier recycled ripstop nylon shell with a DWR finish resists light precipitation and wind; Pertex Quantum baffles prevent insulation migration across heavy use seasons.
Pros:
- ✓ Breathes better than any down piece during sustained climbing effort
- ✓ Helmet-compatible hood design
Cons:
- ✗ Premium price is a real barrier for casual alpine aspirants
4. Glacier Travel Tools: Crampons, Ice Axe, and Traction Devices
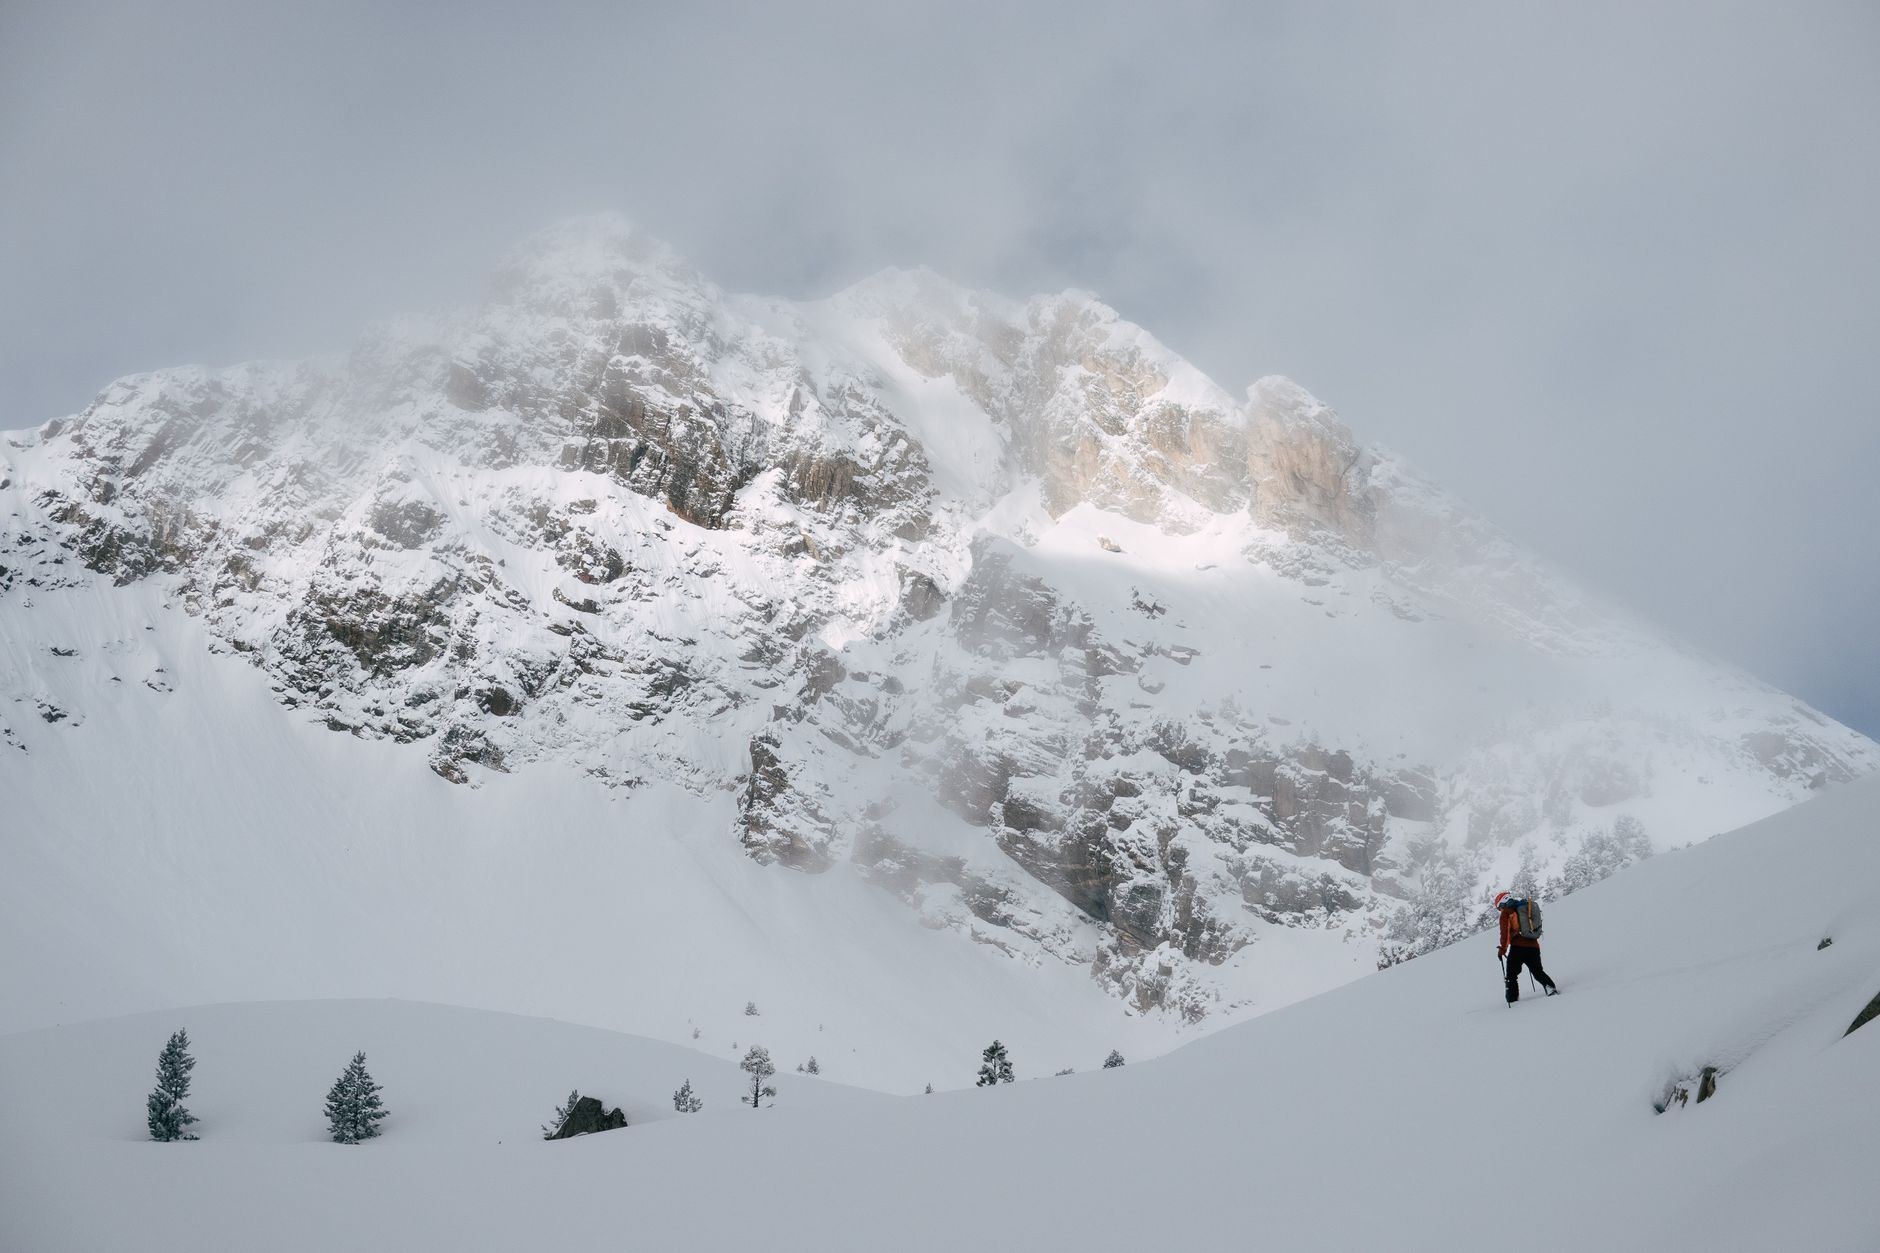
Shasta is a glacier peak. The Avalanche Gulch standard route crosses permanent snowfields that become bulletproof ice by late morning. Microspikes are not crampons — this distinction costs people their lives on Cascade volcanoes every season. A 12-point steel crampon bites into hard alpine ice in a way that a microspike simply cannot. Pair that with a properly fitted ice axe in the 60-65cm range for most climbers, and practice self-arrest before you set foot on the mountain.
Helmet is non-negotiable in gully terrain. Rockfall and self-arrest failures are the primary objective hazards above 10,000 feet on Shasta. A UIAA-rated climbing helmet weighs under a pound and takes a rockfall hit that would otherwise end your season — or worse. Goggles rated for Category 3 or 4 UV protection are equally critical. Snow blindness is a genuine summit-ending condition that most day climbers never anticipate until it’s happening to them.
4. Petzl Vasak Leverlock Crampons (Petzl) ⭐⭐⭐⭐⭐
Price range: $100-130 | Mid-range pick
The Vasak Leverlock is the sweet spot between technical performance and accessible price for alpine day climbers. Twelve steel points, adjustable frame that fits most mountaineering and stiff hiking boots, and a lever-lock front bail that secures in under 20 seconds with gloves on. These are what Shasta guides outfit their clients with for good reason.
Built to last: High-carbon steel points resist deformation across volcanic basalt approach sections; the nylon-reinforced anti-balling plates are replaceable when worn, extending the lifespan of the frame across many seasons.
Pros:
- ✓ Glove-compatible lever-lock system — critical in cold conditions
- ✓ Anti-balling plates included
Cons:
- ✗ Not compatible with flexible trail running or approach shoe soles
5. Hydration, Nutrition, and Sun Protection at Altitude
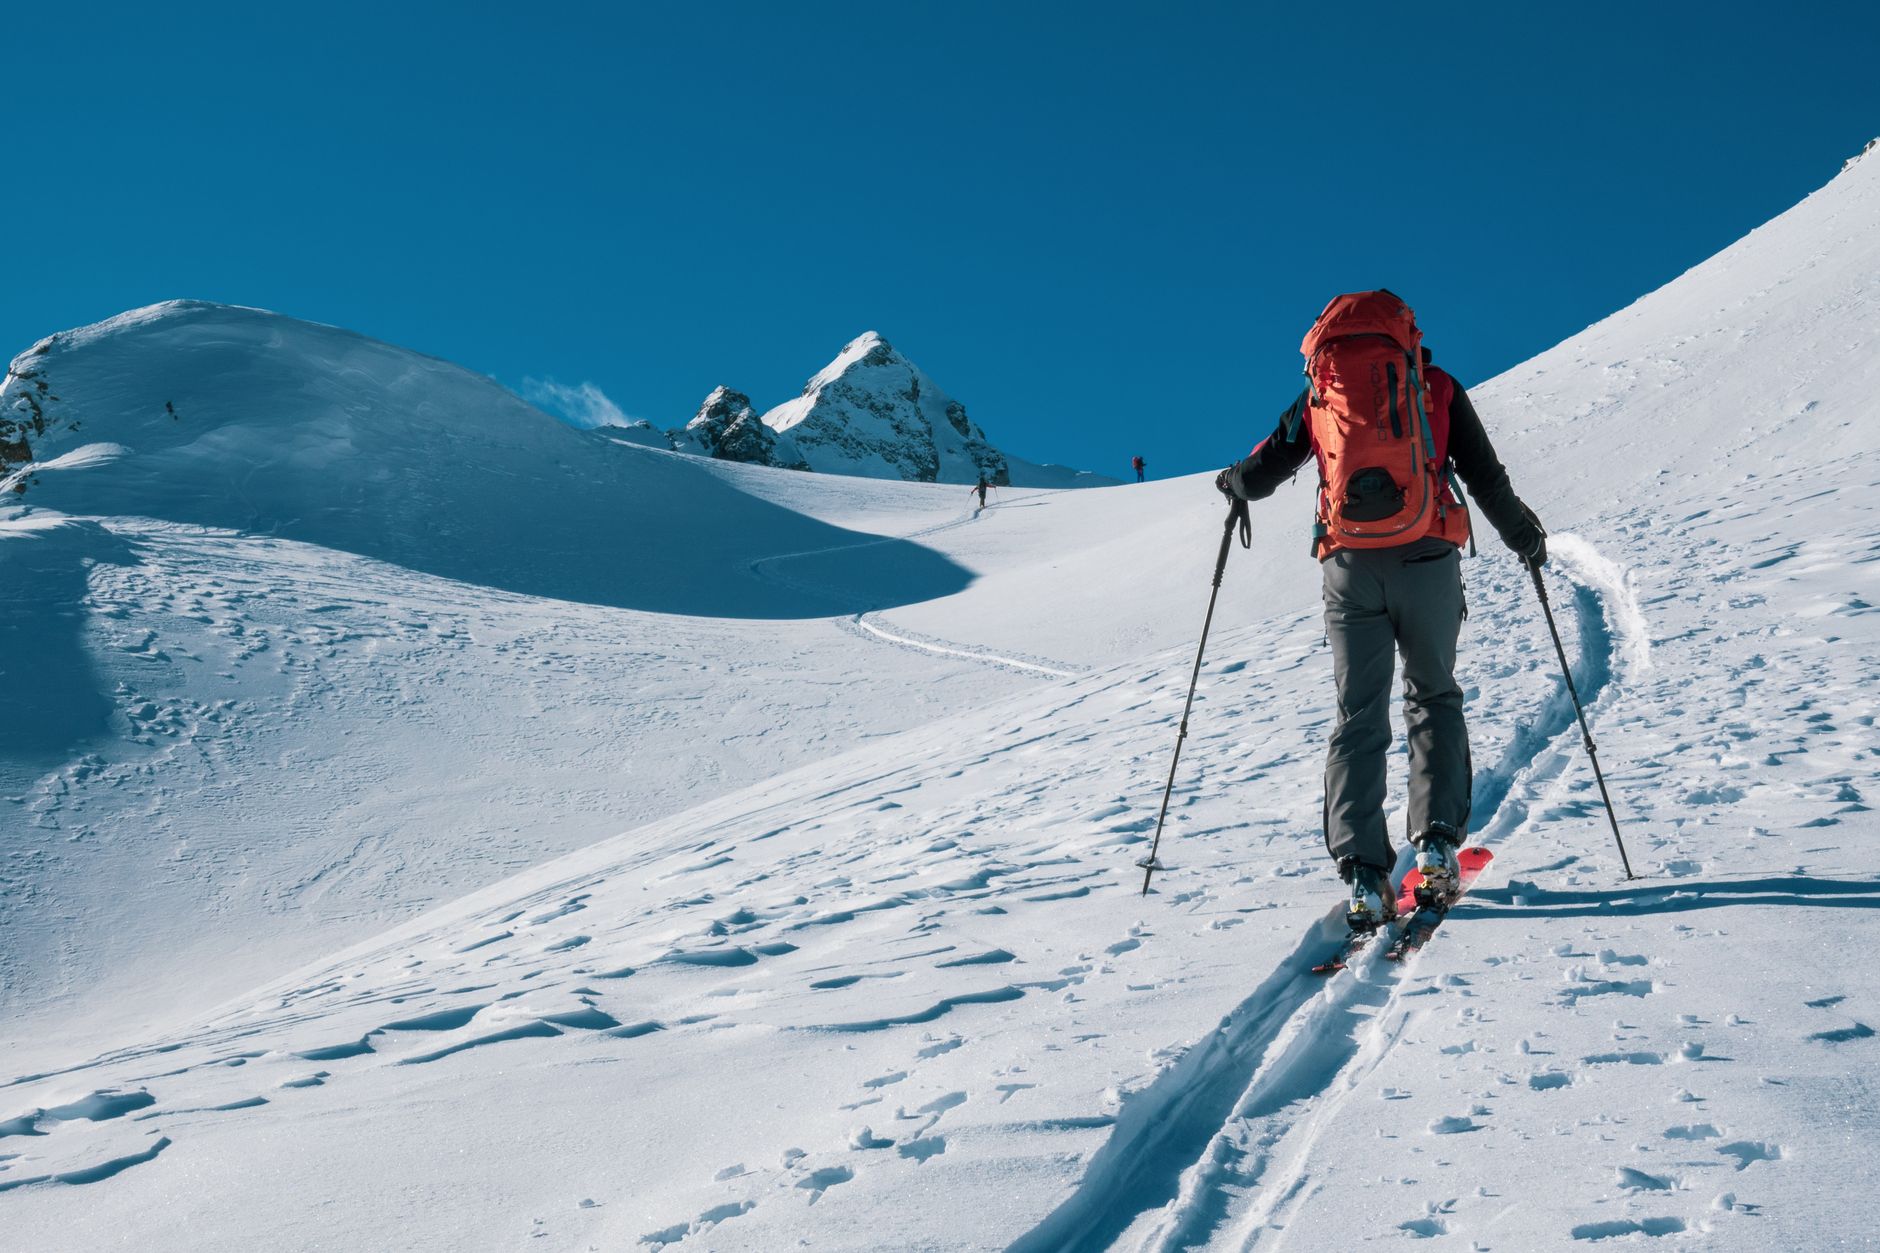
Dehydration at altitude accelerates faster than most climbers expect because cold, dry air wicks moisture from your lungs with every breath. The general guideline is half a liter per hour of active climbing above 10,000 feet — that means a minimum of 3 liters for a Shasta summit day. Insulate your water bladder tube if you’re using a reservoir system; tube freeze is a real problem above 12,000 feet in morning temps. Wide-mouth Nalgene bottles with an insulating sleeve are more reliable in cold conditions.
Sun protection is underestimated on glacier peaks. At 14,000 feet you’re receiving roughly 40% more UV radiation than at sea level, and snow reflects up to 80% of UV back up at your face and under your chin. SPF 50 minimum, applied 20 minutes before exposure, reapplied every two hours. A brimmed sun hat worn under your helmet, glacier glasses with side shields, and sunscreen applied to lips and under the nostrils. Sunburn severe enough to blister has forced turnarounds on Shasta — don’t let it be yours.
5. Julbo Vermont Classic Glacier Sunglasses (Julbo) ⭐⭐⭐⭐⭐
Price range: $60-85 | Budget pick
Julbo’s Vermont Classic is the entry point into real glacier eyewear — Category 4 lenses that block 97% of light transmission, leather side shields that block peripheral UV reflected off snow, and a round lens profile that’s been the alpinist standard since Chamonix guides adopted it decades ago. They look odd. They work extraordinarily well.
Built to last: Spectron 4 polycarbonate lenses are impact-resistant and scratch-coated; the wire-core frame is adjustable to fit over a variety of face widths and doesn’t fatigue under repeated temple pressure from helmet straps.
Pros:
- ✓ Category 4 rating — actual glacier protection, not hiking sunglasses
- ✓ Leather side shields included and removable
Cons:
- ✗ Not compatible with goggles worn simultaneously over them
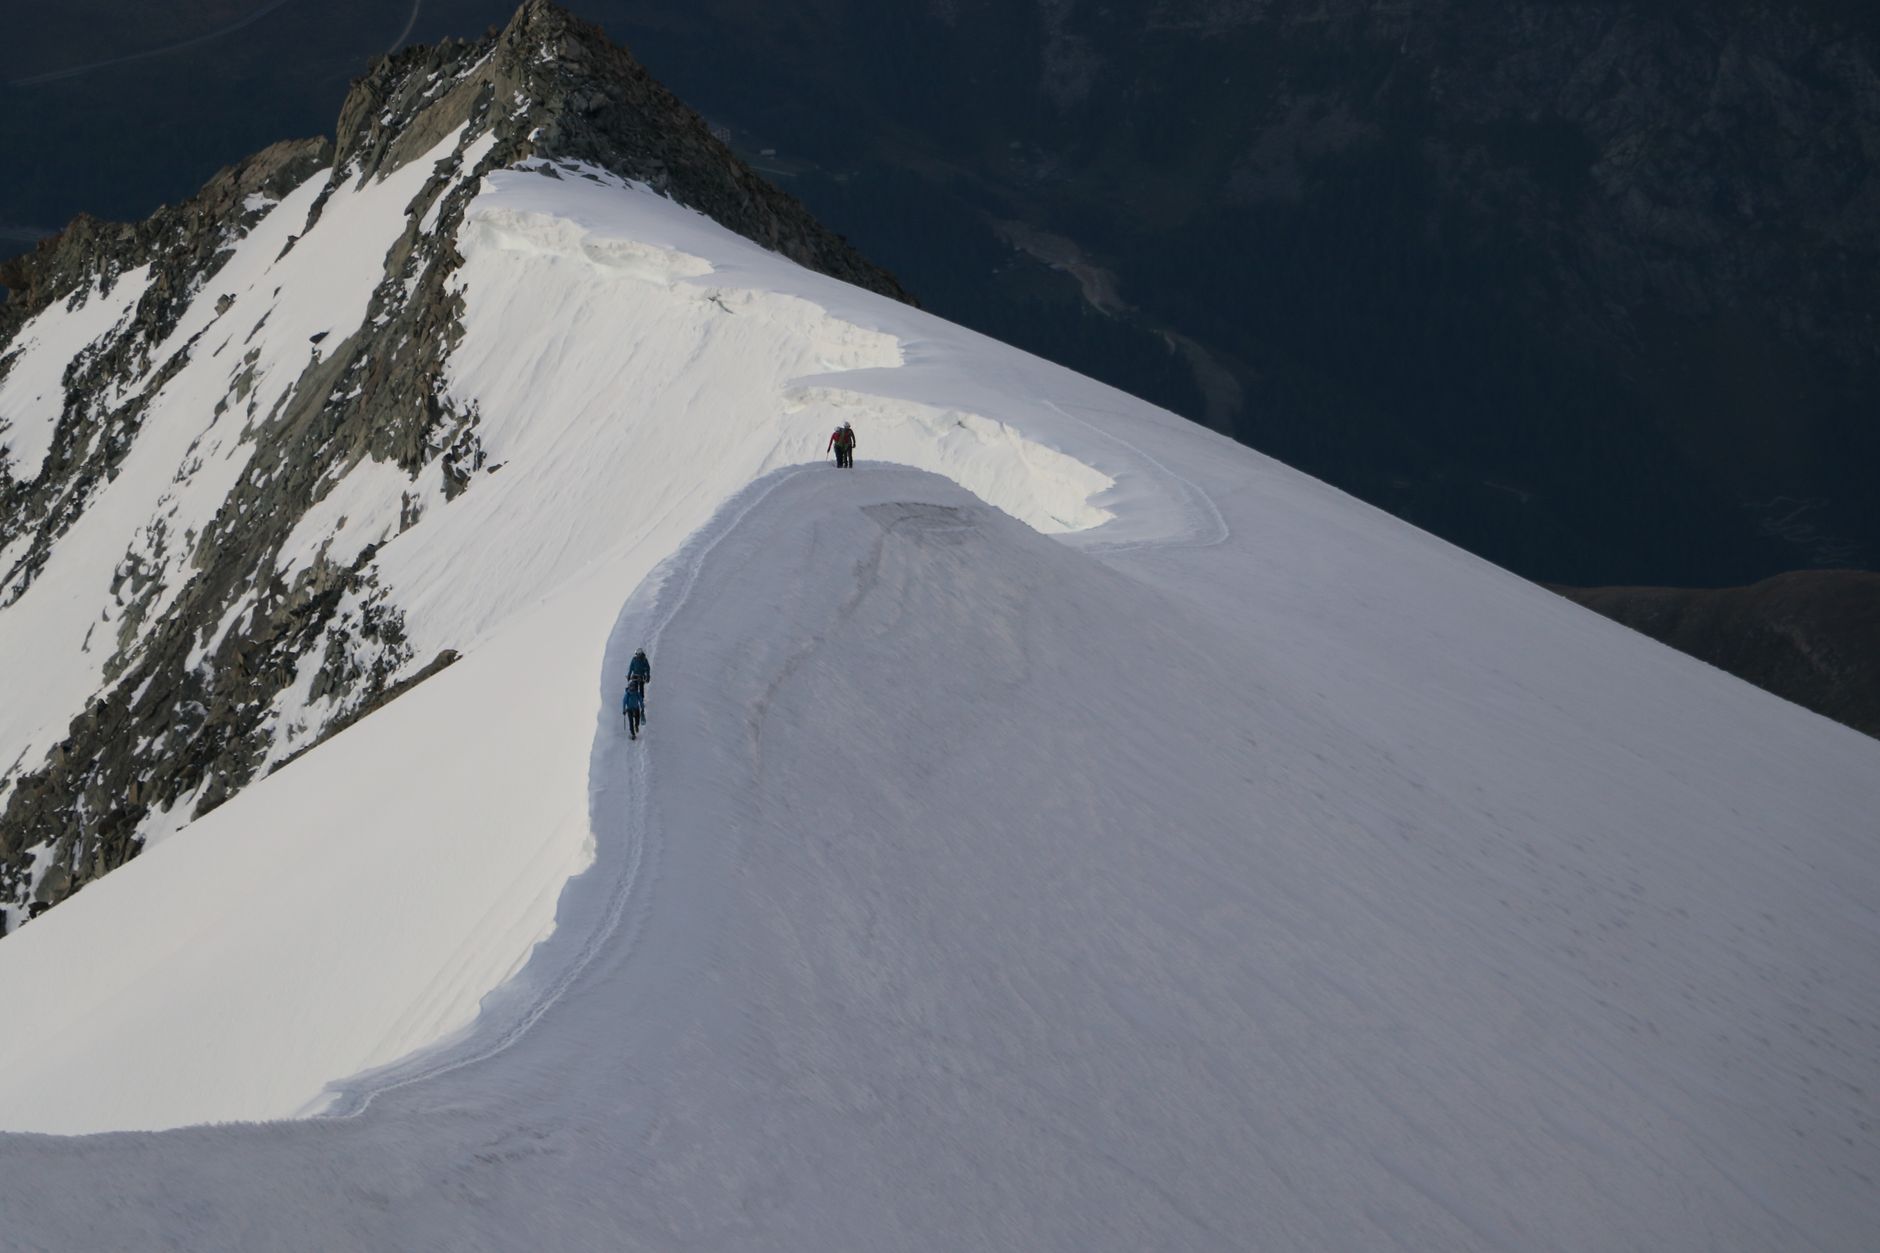
The Takeaway: What Mt. Shasta Actually Teaches Us
The viral rescue story is a useful reminder, but let’s reframe the actual lesson: AI didn’t save that climber — the search and rescue professionals who responded did. Technology is a supplement, never a substitute, for preparation. Every item on this alpine day climb checklist represents a decision you make at home, before you set foot on the mountain, that dramatically changes your outcome if something goes wrong.
Build your kit methodically. Test each piece of gear in cold conditions before depending on it at altitude. Practice self-arrest. File a detailed trip plan with someone who will call SAR if you’re not back by your turnaround time. Then go climb something beautiful. The mountains aren’t going anywhere — and with the right gear, neither are you.
Shop Backcountry Gear Labs on Etsy
Hoodies, tees, hats, and more for campers and hikers who live for the trail.
Get Weekly Gear Picks
Join the Backcountry Gear Labs newsletter for expert gear picks and backcountry advice, every week.