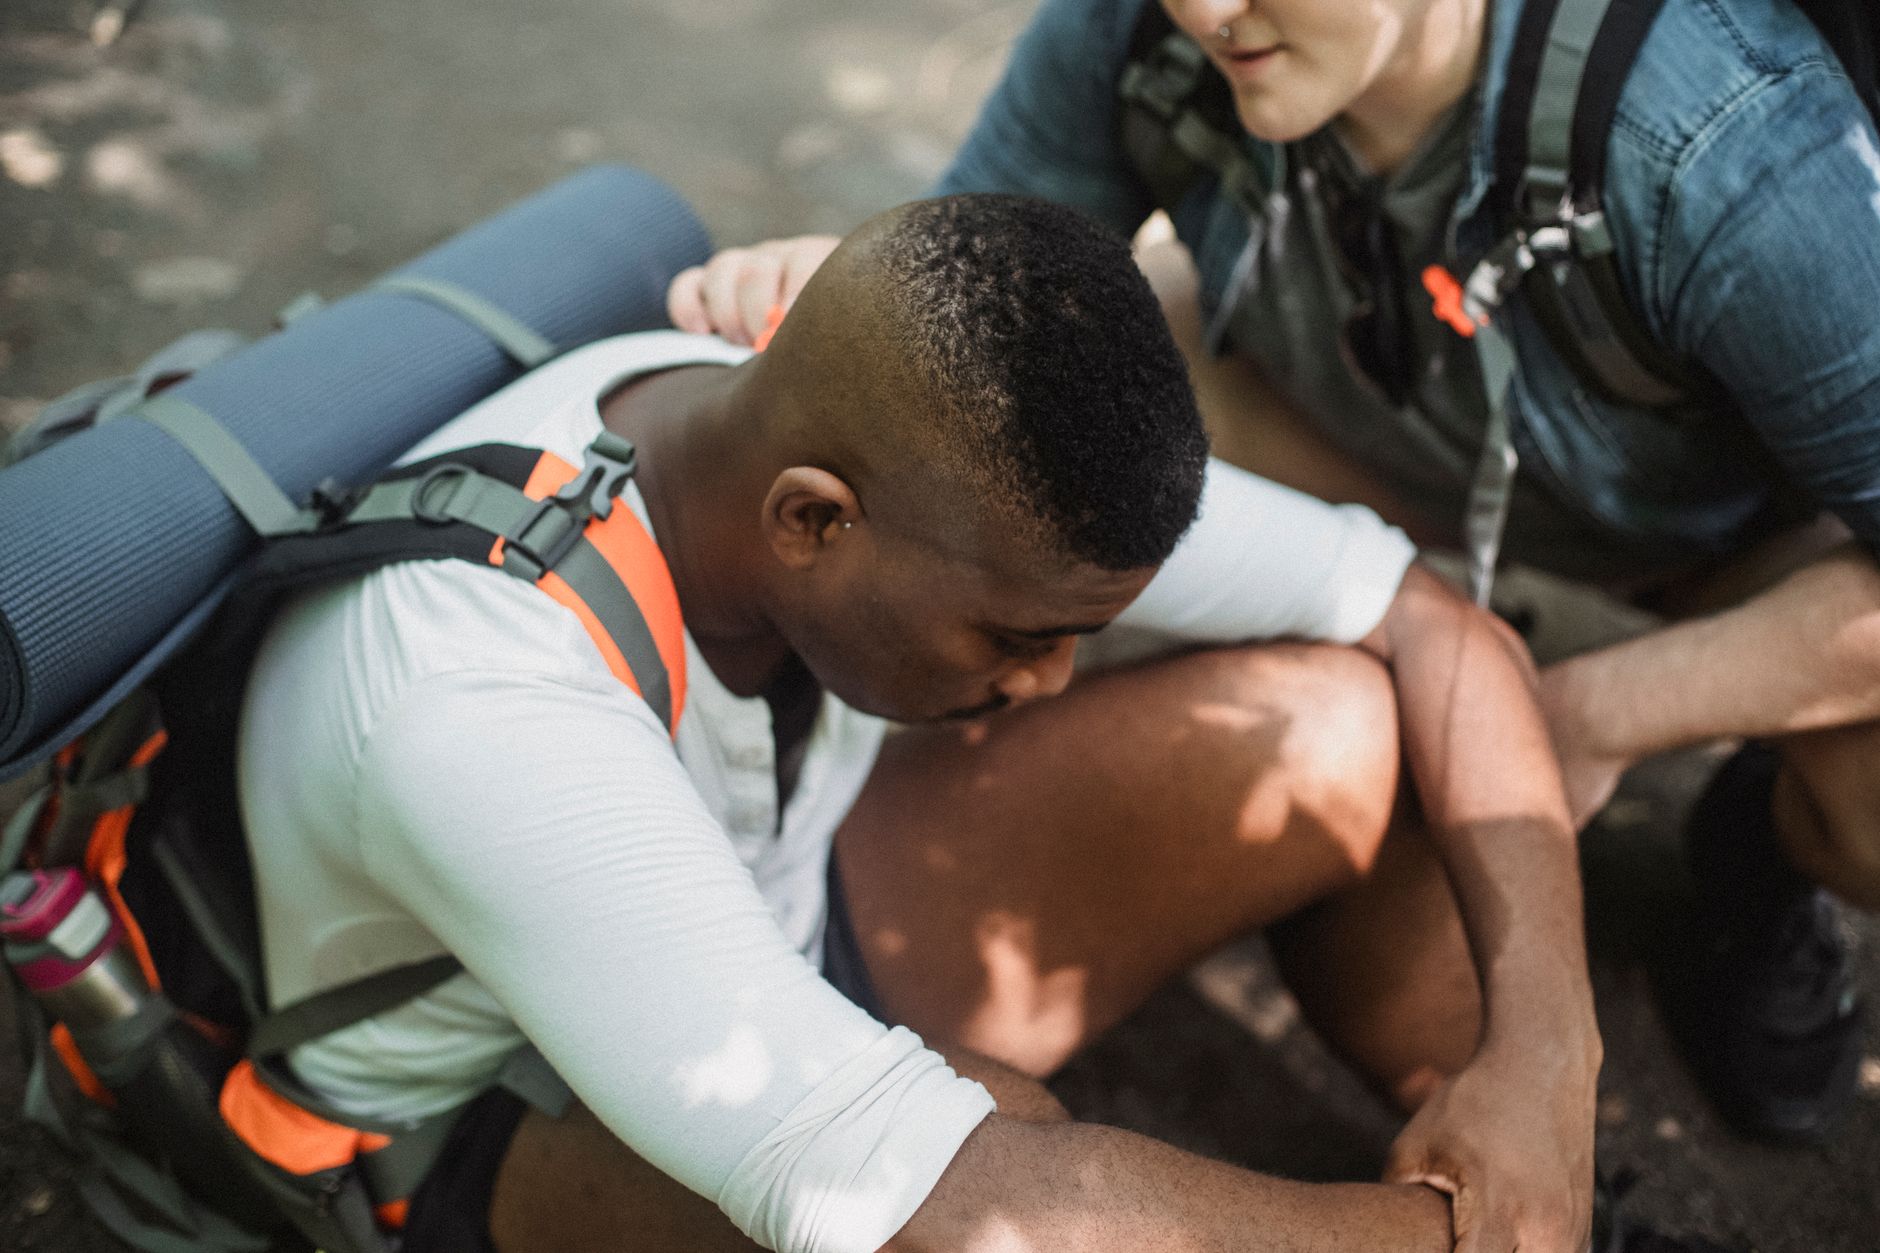
Trail injuries don’t care how experienced you are. Whether you’re a weekend warrior on a local ridge or a seasoned thru-hiker grinding out miles on a long-distance route, your body takes a beating on the trail — and your ability to recover fast directly determines how many more miles you get to enjoy. A solid hiker injury recovery strategy isn’t just about slapping a bandage on a blister. It’s about building a complete toolkit that prevents problems before they start and manages them intelligently when they happen anyway.
The good news is that the outdoor fitness world has been paying serious attention to recovery in recent years. Techniques borrowed from physical therapy, sports medicine, and elite endurance athletics are now being packaged into trail-ready gear that actually fits in a pack. Foam rollers have gone ultralight. Compression wear has gotten smarter. Trekking poles now do double duty as mobility aids during cool-downs. This guide breaks down 12 real products — organized by injury type and recovery phase — so you can build a toolkit that works for your terrain and your body.
I’ve organized this into four sections: foot and ankle recovery, knee and IT band management, full-body muscle recovery, and blister and skin repair. Each section pairs gear recommendations with the movement techniques that actually make that gear effective. Use one without the other and you’re leaving recovery on the table.
Foot and Ankle Hiker Injury Recovery: Insoles, Poles, and Mobility Work
The foot-ankle complex absorbs more cumulative impact on trail than any other structure in your body. Plantar fasciitis, ankle sprains, and Achilles tendinopathy are the three most common reasons hikers cut trips short — and all three are highly preventable with the right gear and a few minutes of daily maintenance. Supportive insoles are the single highest-impact swap most hikers never make, replacing the thin foam inserts that come stock in most boots with orthotic-grade support that actually controls foot mechanics under load. Pairing better insoles with trekking poles dramatically reduces the rotational stress on your ankles during descents, where most sprains occur.
On the movement side, morning ankle circles, calf raises on a trail-side rock, and single-leg balance drills before you start moving are trending hard in outdoor fitness content right now — and for good reason. Physical therapists who work with trail runners and thru-hikers consistently recommend 3-5 minutes of ankle mobility work before the first big descent of the day. If you’re carrying a foam roller or a lacrosse ball, rolling the plantar fascia for 60-90 seconds each morning can prevent that first-step heel pain that plagues hikers on day two and three of a multi-day trip. Also worth reviewing: our deep dive on pack weight and foot health, which covers how shedding ounces from your load directly reduces peak forces on the foot with every step.
1. Superfeet Green Insoles (Superfeet) ⭐⭐⭐⭐⭐
Price range: $35-55 | Budget pick
Superfeet Green is the workhorse insole of the hiking world for a reason. The deep heel cup, high arch profile, and semi-rigid stabilizer cap control foot pronation and reduce strain on the plantar fascia and Achilles under multi-hour load. It fits most trail boots and hiking shoes and trims easily to size.
Built to last: High-density foam base with a reinforced nylon stabilizer cap resists compression fatigue across hundreds of trail miles; the antimicrobial top layer holds up through repeated sweat cycles without breaking down.
Pros:
- ✓ Clinically proven arch support reduces plantar fasciitis symptoms
- ✓ Fits most standard hiking boots without modification
Cons:
- ✗ High arch may feel aggressive for flat-footed hikers initially
2. Black Diamond Trail Ergo Cork Trekking Poles (Black Diamond) ⭐⭐⭐⭐⭐
Price range: $100-130 | Mid-range pick
Trekking poles are injury prevention gear, full stop. The Trail Ergo Cork’s ergonomic grip angle reduces wrist extension fatigue on long climbs, while the FlickLock Pro adjustment lets you shorten them fast for descents — which is exactly when ankle sprain risk peaks. The cork grip wicks moisture and molds to your hand shape over time, reducing hot spots on long days.
Built to last: Aircraft-grade aluminum shaft handles serious lateral loads without flex; carbide tips bite into rock and hardpack without wearing down quickly under normal use.
Pros:
- ✓ Ergonomic cork grip reduces wrist and forearm fatigue
- ✓ FlickLock adjustment is fast and reliable under gloves
Cons:
- ✗ Heavier than carbon fiber options at similar price points

Knee and IT Band Management: Compression and Targeted Rolling
Hiker’s knee — the catch-all term for patellofemoral pain and IT band syndrome — is almost epidemic on long descents and multi-day trips. The mechanics are predictable: repeated knee flexion under load, combined with quad fatigue that shifts stress onto the lateral structures, creates that sharp lateral knee pain that ruins the last five miles of an otherwise great day. Knee sleeves and compression braces address this by improving proprioception (your knee’s ability to sense its own position) and reducing the inflammatory swelling that accumulates in the joint capsule after high-mileage days.
IT band rolling technique matters enormously here. The common mistake is rolling directly on the IT band itself, which is a dense fascial structure that doesn’t respond well to direct compression. Current sports medicine thinking — and what you’ll see recommended by most trail running coaches — is to target the TFL (tensor fasciae latae) at the hip and the lateral quad, which are the structures that actually get tight and pull the IT band taut. A firm foam roller or targeted massage ball on the lateral hip for 90 seconds per side, done at camp after big descending days, is more effective than five minutes of grinding your IT band on a roller. Pair this with a knee sleeve on the trail and you have a genuinely effective two-part system.
3. Bauerfeind Sports Knee Support (Bauerfeind) ⭐⭐⭐⭐⭐
Price range: $65-85 | Mid-range pick
Bauerfeind’s Sports Knee Support is the sleeve that trail runners and thru-hikers reach for when they need something that actually stays put over 15-mile days. The anatomical knit and the integrated viscoelastic pad around the patella improve joint proprioception measurably, which reduces the micro-instability events that cause IT band flare-ups on uneven trail. It breathes well enough to wear all day without becoming a sweat trap.
Built to last: Medical-grade knit construction with Titanium yarn maintains compression class across hundreds of uses without the sleeve losing its elasticity or rolling down mid-hike.
Pros:
- ✓ Stays in place through descents without rolling or bunching
- ✓ Viscoelastic pad actively massages the knee during movement
Cons:
- ✗ Premium price versus basic neoprene sleeves
4. TriggerPoint GRID Foam Roller (TriggerPoint) ⭐⭐⭐⭐⭐
Price range: $35-50 | Budget pick
The GRID is the standard by which trail-appropriate foam rollers are measured. Its multi-density surface replicates the feeling of a therapist’s hands better than flat rollers, and the hollow-core construction means it won’t crush or deform under bodyweight the way cheaper foam versions do after a few weeks. The 13-inch version fits inside most large packs or straps to the outside — genuinely trail-portable for base camp recovery.
Built to last: Solid EVA foam outer over a rigid hollow-core plastic tube maintains its shape and density rating across 500-plus uses, unlike single-density foam rollers that compress permanently within weeks.
Pros:
- ✓ Multi-density grid surface targets tissue more precisely than flat foam
- ✓ Holds shape and density even under heavy daily use
Cons:
- ✗ Not compressible — takes up real pack space
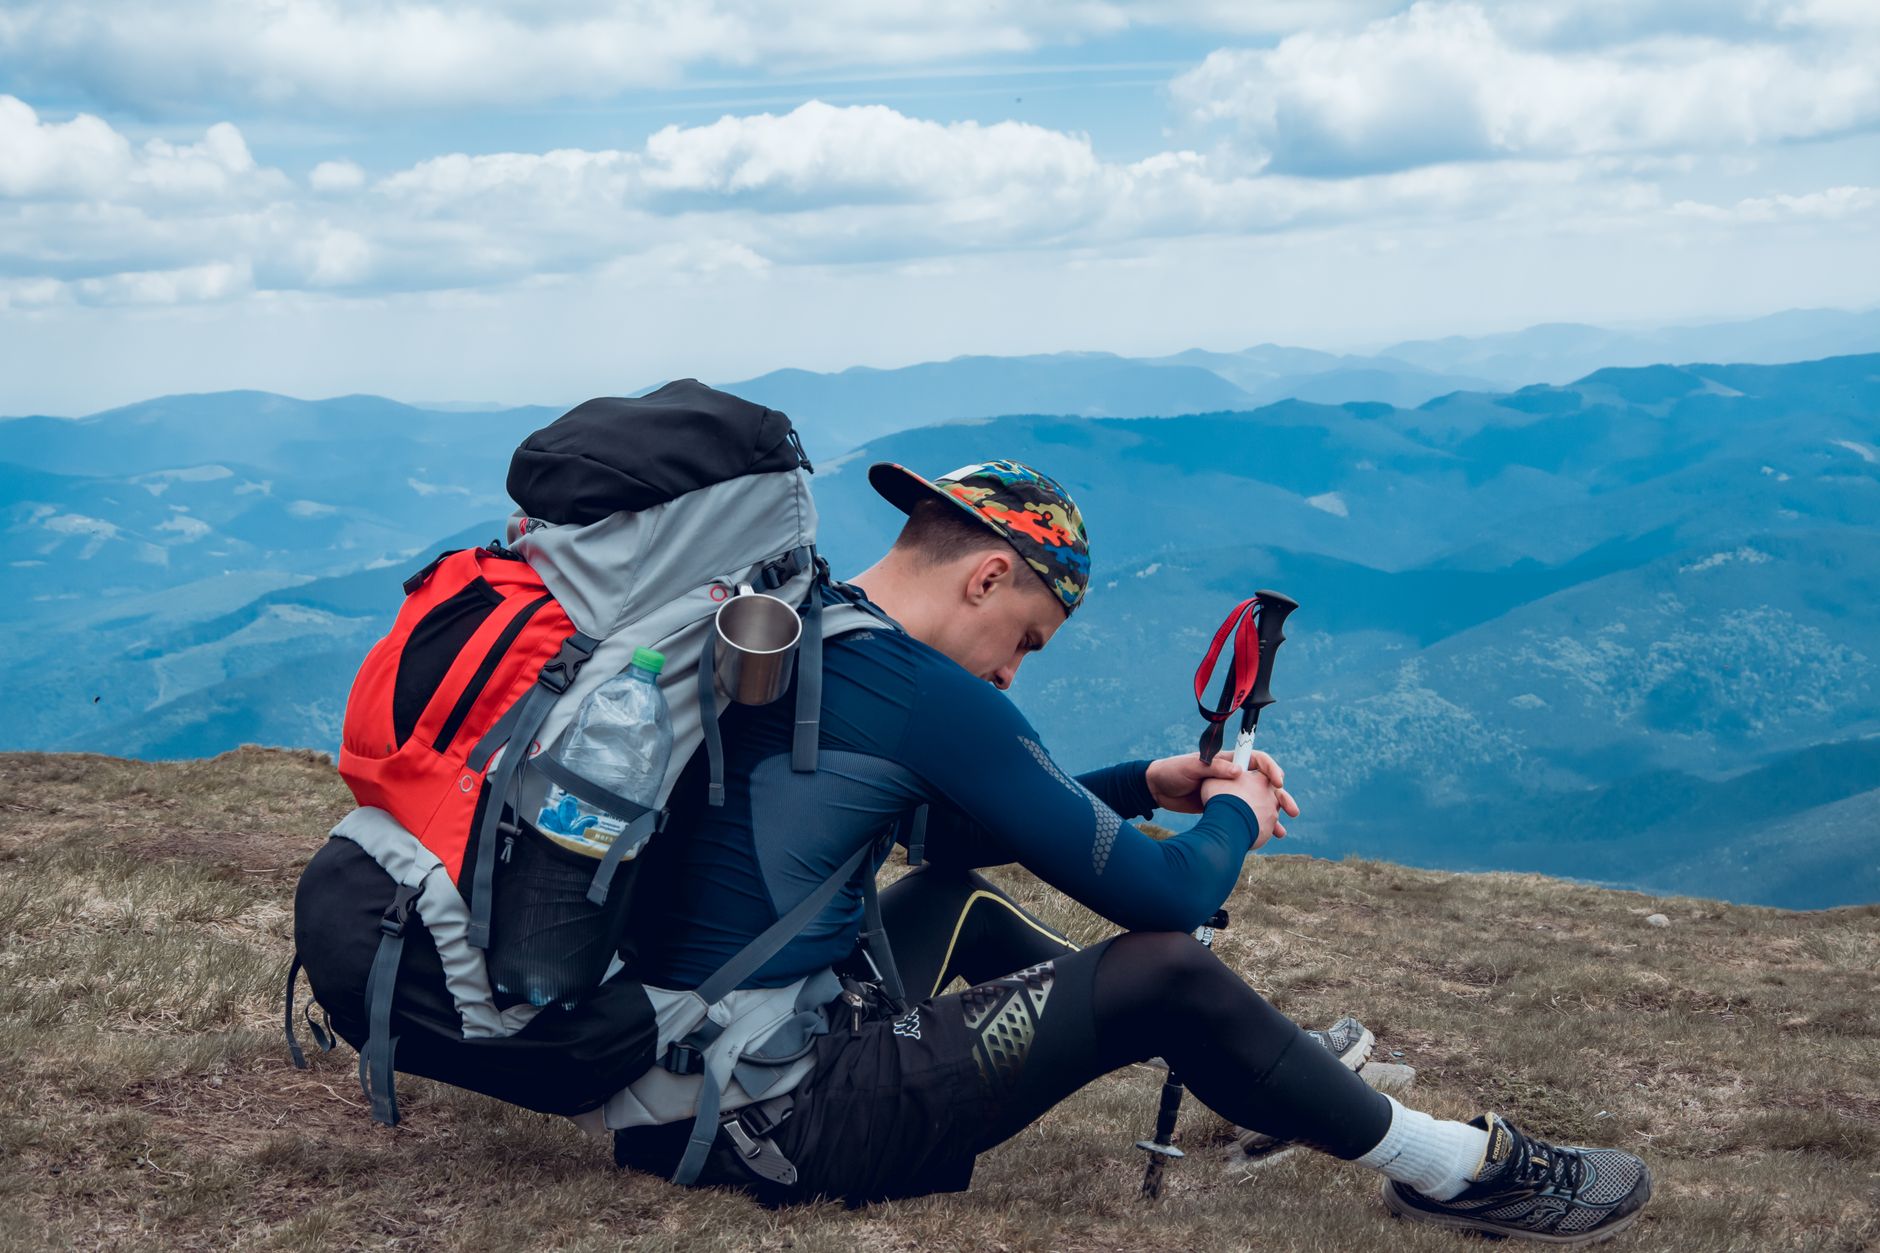
Full-Body Muscle Recovery: Compression Wear and Active Recovery Protocols
Compression tights and calf sleeves have moved well past trend status — the evidence for their role in reducing delayed onset muscle soreness (DOMS) and accelerating venous return in the legs is solid enough that most competitive trail runners now consider compression wear non-negotiable on big days. For hikers, the sweet spot is graduated compression calf sleeves worn during and after long days: they keep blood from pooling in the lower leg during rest periods and reduce the calf cramping that wakes you up at 2 AM in the tent. Full-length compression tights add quad and hamstring support and are particularly effective on back-to-back high-mileage days.
The active recovery movement has hit the outdoor space hard, and it’s worth taking seriously. Static stretching after a hike is less effective than slow, controlled movement. A 10-minute camp recovery walk at 50% effort followed by hip flexor mobility work and forward fold holds does more for next-morning soreness than sitting still. Pairing this movement protocol with magnesium-based muscle cream or a percussive massage device amplifies results — and both are now light enough to carry on longer trips. For thru-hikers building a complete recovery system, the gear list at our Great Circle Trail guide covers several recovery-adjacent tools worth considering for extended trips.
5. CEP Compression Run Socks 3.0 (CEP) ⭐⭐⭐⭐⭐
Price range: $50-70 | Mid-range pick
CEP’s Run Socks 3.0 deliver medically calibrated 20-30 mmHg graduated compression that actually matches the clinical threshold shown to reduce DOMS in endurance athletes. The anatomical knit follows the contour of the lower leg precisely, which means compression is consistent rather than just tight — a meaningful distinction when you’re 18 miles into a long day. The merino blend version adds temperature regulation and natural odor resistance for multi-day use.
Built to last: Nylon-merino blend with reinforced heel and toe zones maintains compression class across 50-plus wash cycles without the elastic degrading — a known failure point in cheaper compression socks.
Pros:
- ✓ Clinically calibrated compression gradient — not just tight elastic
- ✓ Anatomical sizing delivers consistent compression across full leg
Cons:
- ✗ Higher price point than generic compression socks
6. Theragun Mini (Therabody) ⭐⭐⭐⭐⭐
Price range: $150-200 | Premium pick
The Theragun Mini is the percussive therapy device that actually makes it into a pack. At under 1.5 lbs, it delivers the same amplitude and frequency as larger Theragun models and can hit the glutes, quads, hamstrings, and calves effectively after a long descent. Two to three minutes of percussive work per muscle group at camp is now a standard recovery protocol for serious trail runners — and the evidence behind percussive therapy for reducing DOMS and improving next-day range of motion is increasingly strong.
Built to last: Brushless motor with a sealed housing stands up to trail dust and humidity; the lithium-ion battery holds charge reliably across multiple camp evenings on a single charge.
Pros:
- ✓ Compact enough for real-world pack inclusion
- ✓ Full percussive therapy capability despite small form factor
Cons:
- ✗ Battery life requires management on trips longer than 3-4 days

Blister and Skin Repair: Prevention First, Treatment Fast
Blisters are the most common trail injury and the most underestimated. A single bad blister can end a thru-hike. The current best practice combines friction-prevention lubrication applied before the hike starts, moisture-wicking sock layering to keep skin dry, and pre-taping known hot spots with a performance tape designed specifically for skin rather than athletic joints. This is a shift from the old mentality of “deal with blisters when they happen” — prevention is the recovery strategy here, because a blister that never forms is a wound you never need to manage in the field.
When blisters do occur, the treatment protocol has gotten more sophisticated. Draining a blister cleanly, covering it with a hydrocolloid dressing rather than standard gauze, and keeping it covered for 24-48 hours dramatically accelerates healing compared to leaving it open. Hydrocolloid technology — the same used in modern wound care — creates a moist healing environment that protects the new skin forming underneath while also providing cushioning so you can keep hiking. Carrying two or three hydrocolloid patches adds almost no weight and can extend a trip by days.
7. Body Glide Original Anti-Chafe Balm (Body Glide) ⭐⭐⭐⭐⭐
Price range: $8-15 | Budget pick
Body Glide is the blister-prevention staple that belongs in every hiker’s kit. Applied to the heel, ball of foot, and any other hot spots before you start moving, it creates a dry, invisible friction barrier that doesn’t degrade with moisture the way petroleum jelly does. The stick format is clean, non-greasy, and easy to reapply on trail during a rest break without getting your hands oily.
Built to last: Plant-derived wax base in an anhydrous formula doesn’t separate, dry out, or lose efficacy sitting in a pack across seasons — a shelf-stable product that holds up in heat and cold.
Pros:
- ✓ Dry application — no greasy residue on hands or socks
- ✓ Holds up through wet conditions better than petroleum-based alternatives
Cons:
- ✗ Needs reapplication every 4-6 hours on high-sweat days
8. Band-Aid Hydro Seal Blister Cushion (Band-Aid) ⭐⭐⭐⭐⭐
Price range: $8-12 | Budget pick
Hydrocolloid blister treatment doesn’t require a medical brand — Band-Aid’s Hydro Seal patches deliver the same active healing technology at a fraction of the price of specialty outdoor blister products. The waterproof seal holds on wet feet and through sock layers, and the cushioning pad reduces pressure on the blister site so you can actually continue hiking. Carry the heel and large-size variants for comprehensive coverage.
Built to last: Multi-layer hydrocolloid construction with a waterproof polyurethane outer film maintains adhesion across 24-48 hours of active use, including through wet boot conditions that defeat standard bandages immediately.
Pros:
- ✓ True hydrocolloid healing — not just a cushion pad
- ✓ Waterproof seal holds through wet trail conditions
Cons:
- ✗ Adhesive can struggle on very high-moisture skin if not dried first

The Bottom Line on Building Your Trail Recovery System
A complete hiker injury recovery toolkit doesn’t have to be heavy, expensive, or complicated. The products and protocols in this guide cover the four most common trail injury categories — foot and ankle, knee and IT band, full-body muscle fatigue, and blister management — with gear that spans from under $10 to around $200. The pattern across all four categories is the same: prevention plus active recovery beats reactive treatment every time. Start with the insoles and compression socks if you’re new to recovery gear. Add the trekking poles and a foam roller next. Build toward the Theragun Mini once you’re doing serious mileage.
The movement protocols matter as much as the gear. Morning mobility work, targeted foam rolling technique, active recovery walks at camp, and consistent hydrocolloid use when blisters appear will get you more trail time and fewer forced zero days than any single product alone. Your body is the most important piece of gear you carry. Treat it accordingly.
Shop Backcountry Gear Labs on Etsy
Hoodies, tees, hats, and more for campers and hikers who live for the trail.
Get Weekly Gear Picks
Join the Backcountry Gear Labs newsletter for expert gear picks and backcountry advice, every week.